Narita Airport to Otsuka - step by step guide
Part one - Narita to Tokyo
Getting from the airport to Tokyo is easier and more affordable than you think. For your convenience there are several trains which have stations right at the airport, which will take you right into the city. Its as simple as walking into the arivalls hall, taking the stairs down to floor B1, buying your train ticket at the Keisei Limited counter, walking down another flight of stairs and then bam, you're on the platform, ready to hit the city. Its that easy! And getting from Tokyo back to Narita is just as simple.
But as simple as it is, its always a good policy to 'know before you go' so you are familiar and not completely stumped. In light of this we have prepared for you a photographic guide through all the steps of getting to Tokyo from Narita Airport and then getting to Narita Airport from Tokyo.
Note: Narita is is 36 miles east of Tokyo, and the average train ride takes an hour and fifteen minutes. There are many trains you can choose all with varying prices and speeds. But we want to keep things simple for you, thus we have choosen the most affordable and convenient train: Kesei Limited Express, only costing 1000 yen (10 USD apprx)
Let's Begin.
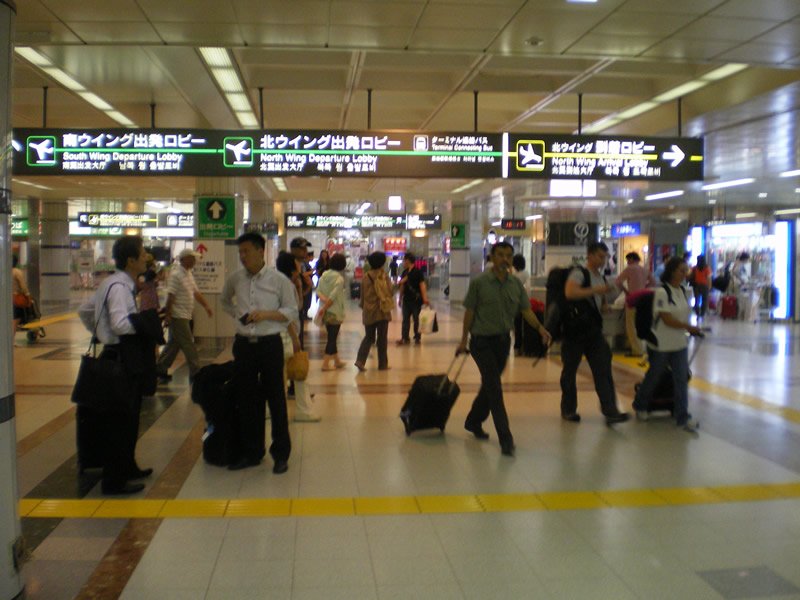
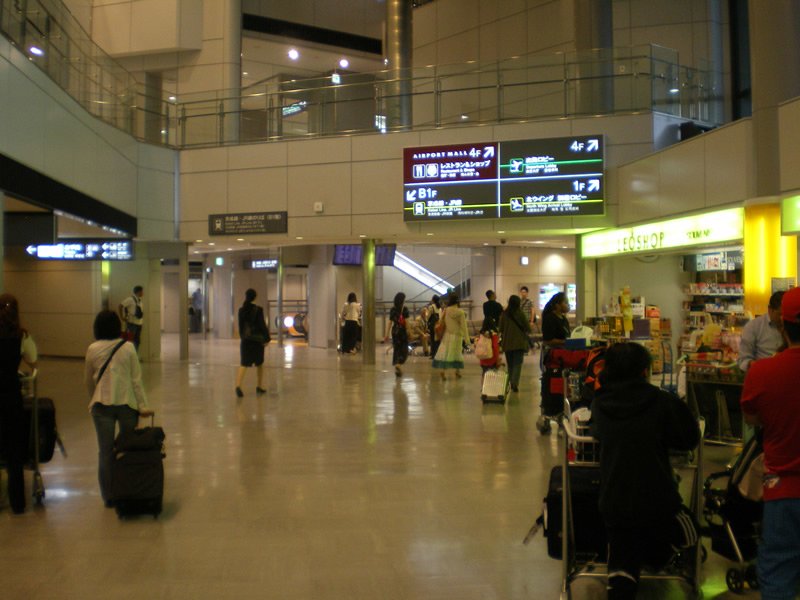
Upon clearing immigration and security and after collecting your baggage at Narita International airport you will step into the arrivals hall.
Figure #1
Arrivals hall: (Terminal 1)
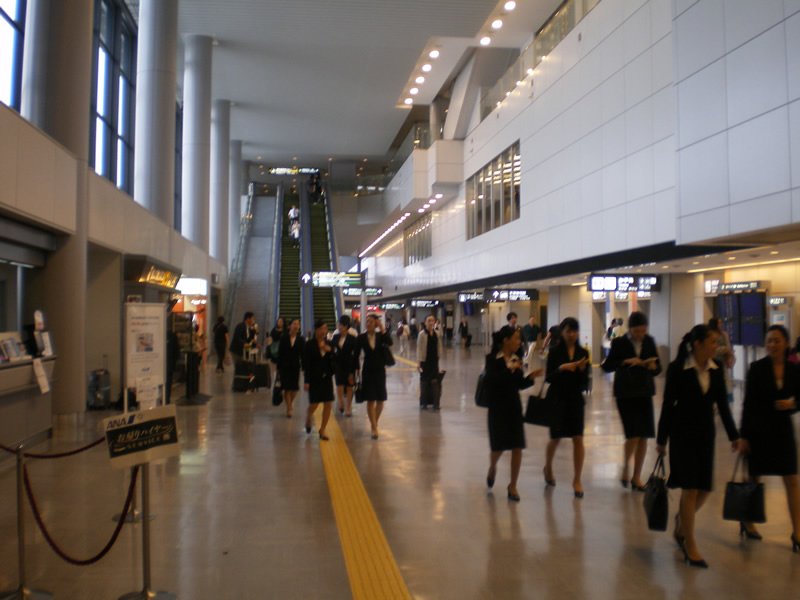
Figure #2
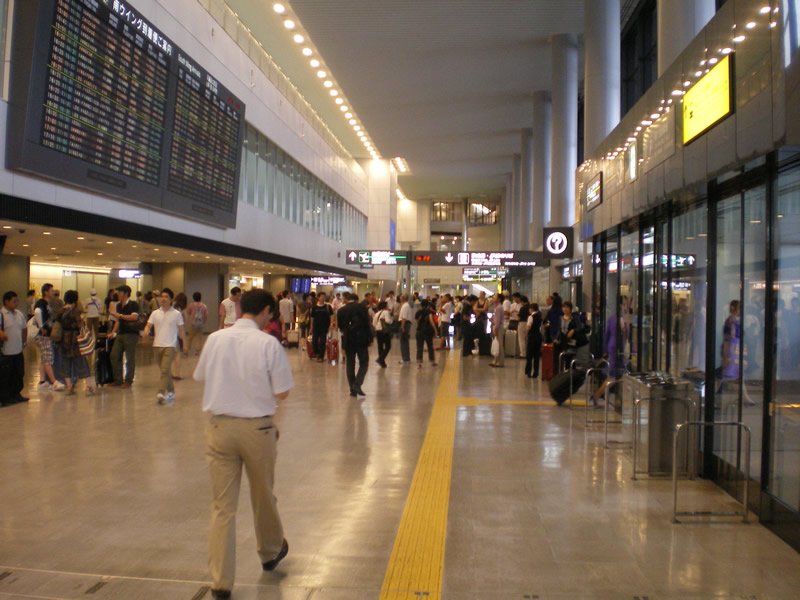
Figure #3
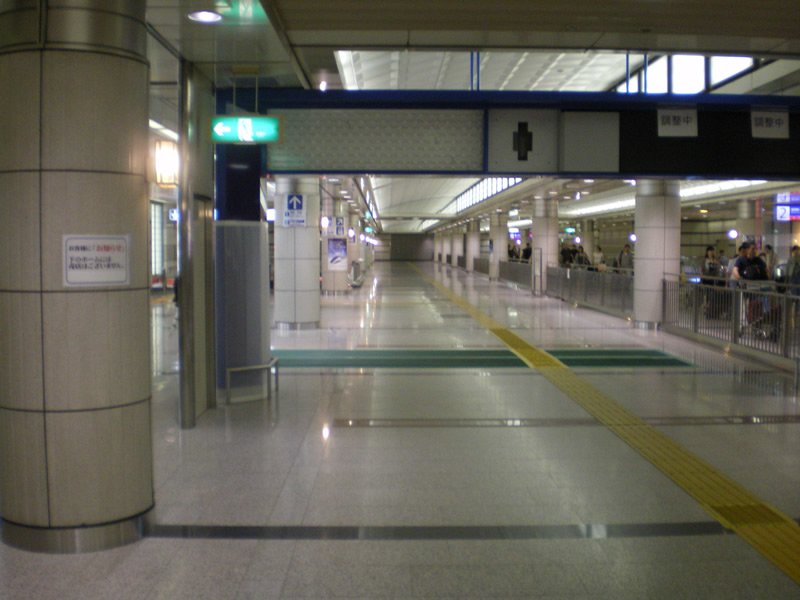
Head to the end of the hall.
Figure #4
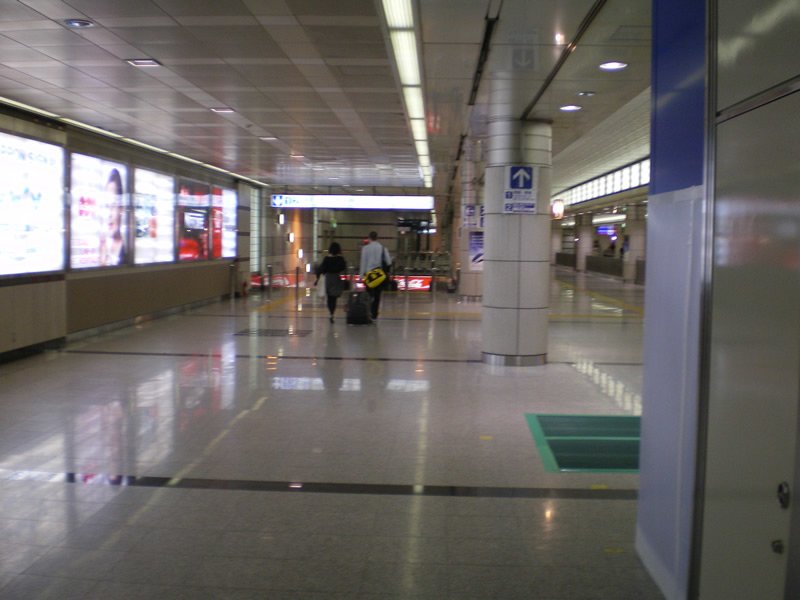
Don't go down the escalators, instead keep heading straight.
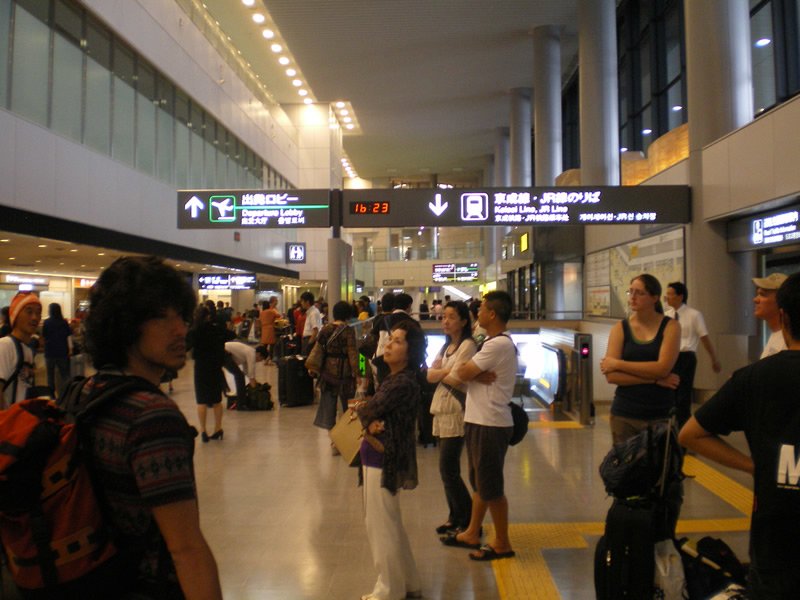
Figure #5
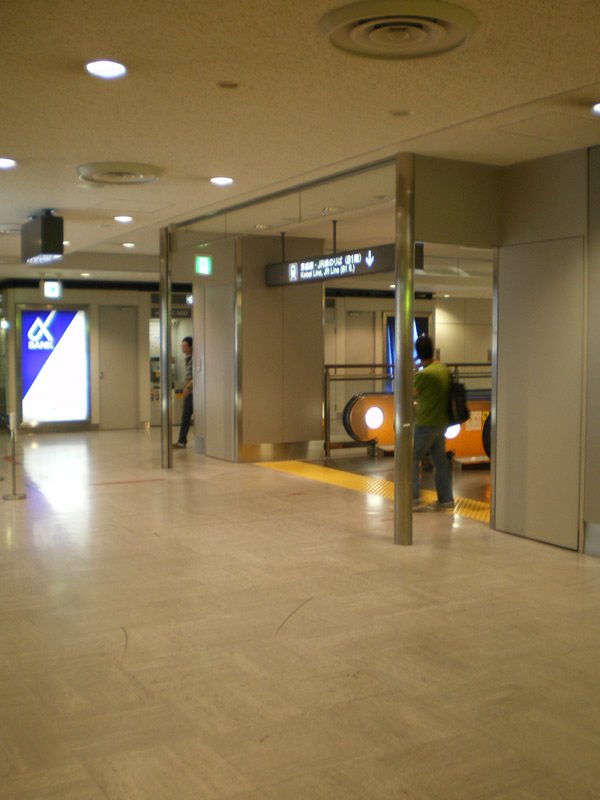
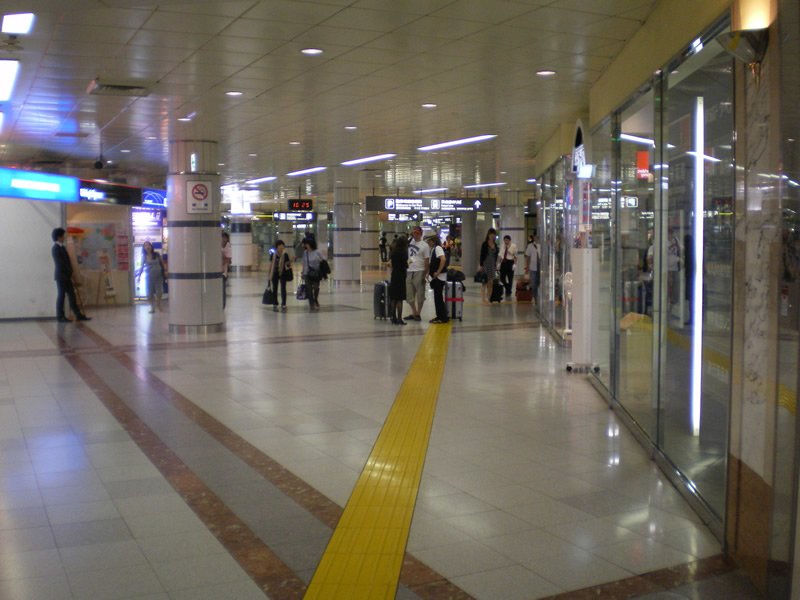
Go straight but veering to the left, then you'll see this:
Figure #6
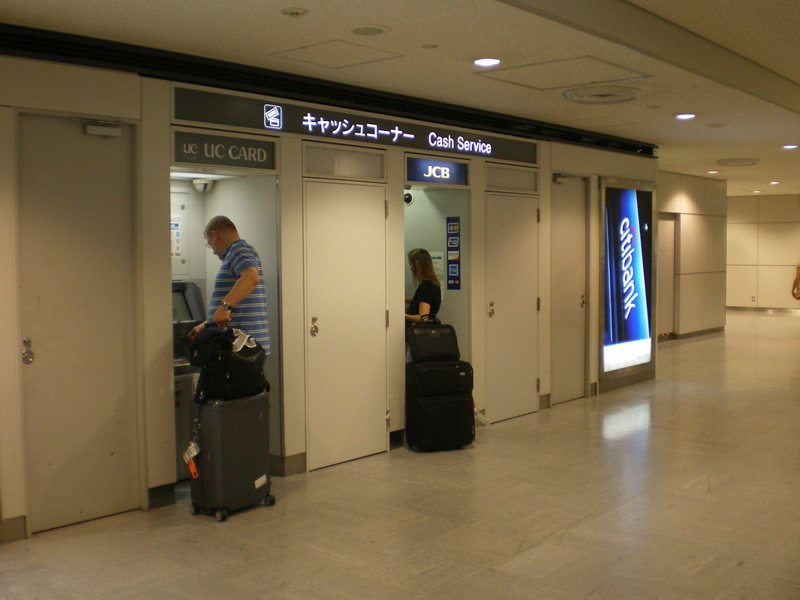
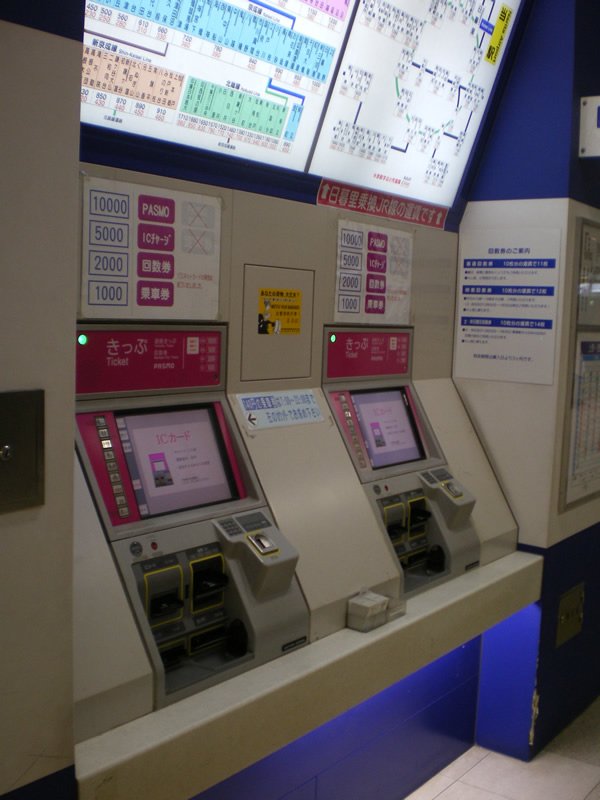
Now, go imideaitely to the left, around that corner you will see these cash machines:
Figure #7
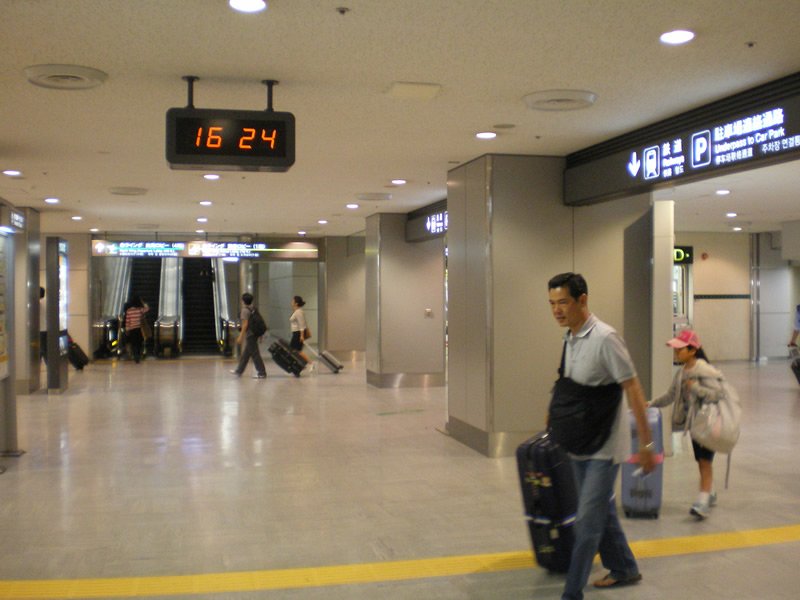
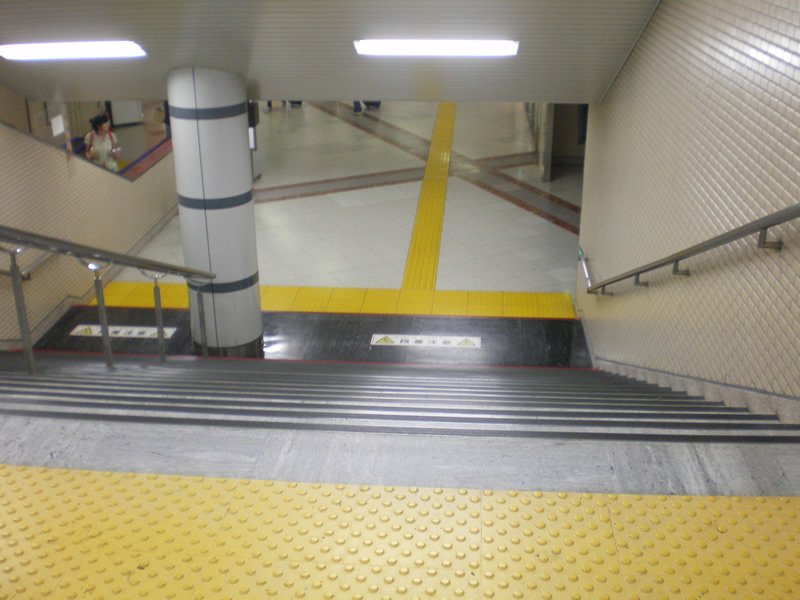
Score some cash and then turn back around the way you came, and take the escalator down to B1, and you'll see this at the landing:
Figure #8
Take a right, go straight and you'll find these stairs:
Figure #9
You're now at B1
Figure #10
Start walking straight, veering left and you'll find the Keisei booth:
Figure #11
Approach the area in the red cricle to buy your ticket.
Figure #12
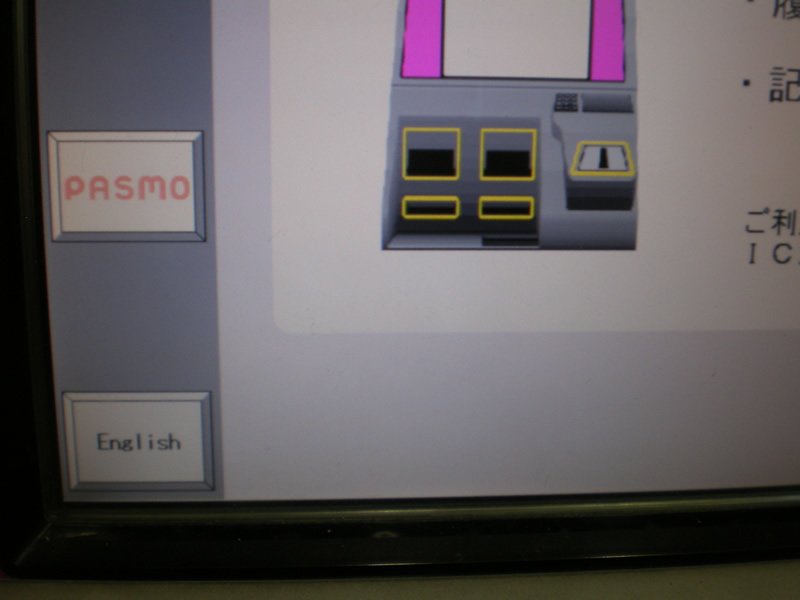
Choose a machine, then press the 'english' button on the screen
Figure #13
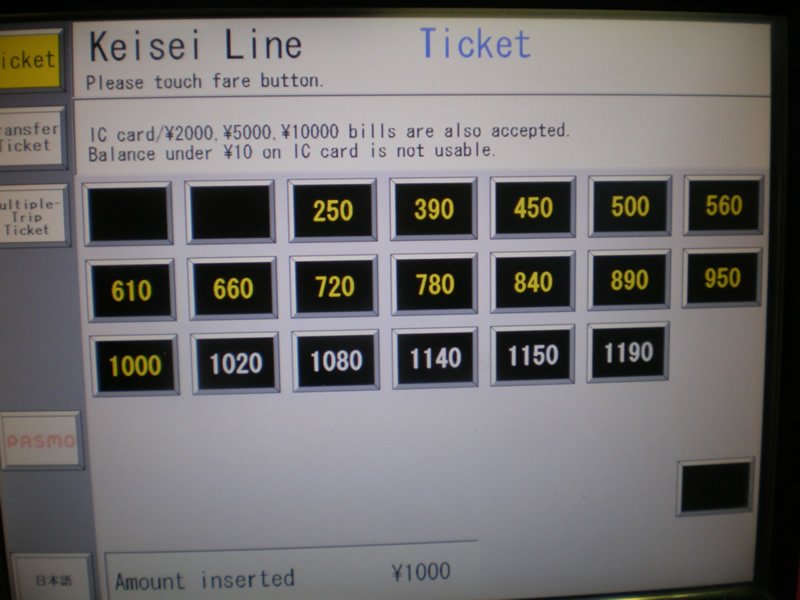
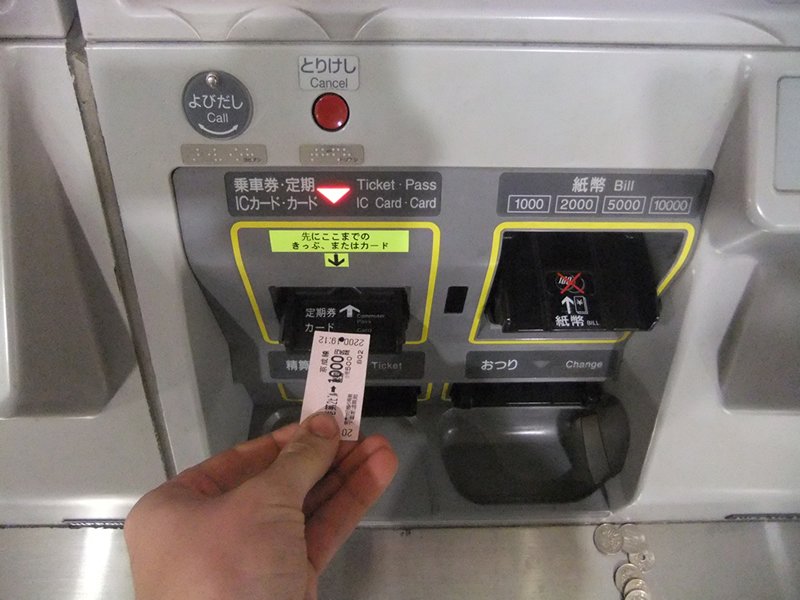
Then, put in a 1000 yen bill or 1000 yen in change, then this screen will come up:
Figure #14
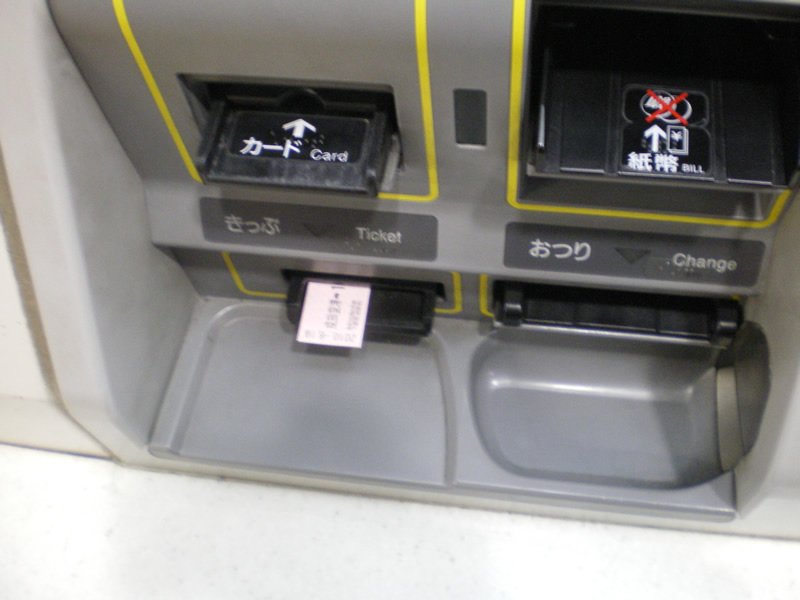
Press '1000', then it will spit out your ticket.
Figure #15
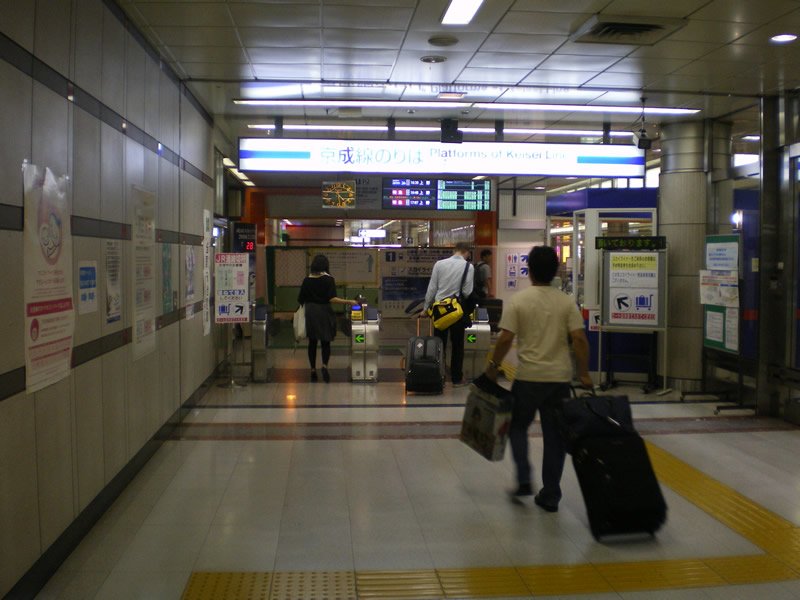
Next, walk towards the ticket gate, put your ticket in, and take it back. If you don't know how to do this please see...
Figure #16
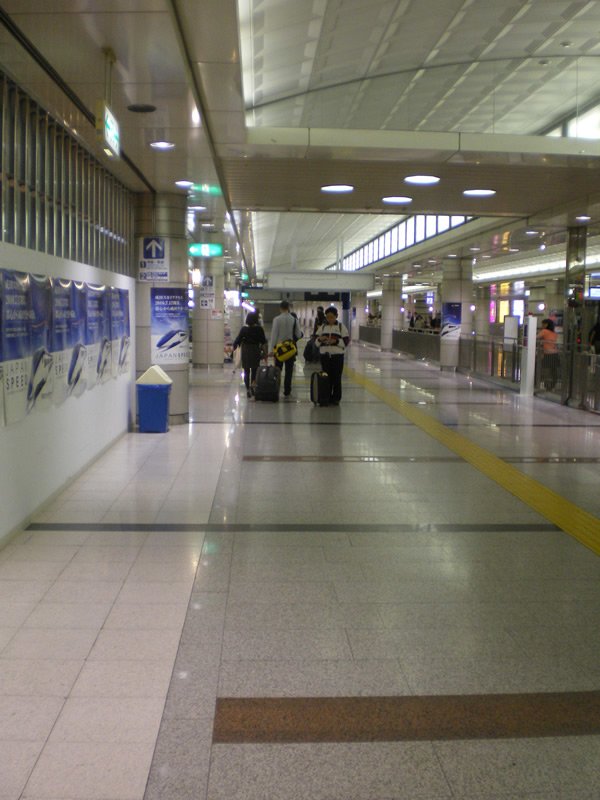
Walk down the long corridor
Figure #17
Near the end of the corridor, turn left:
Figure #18
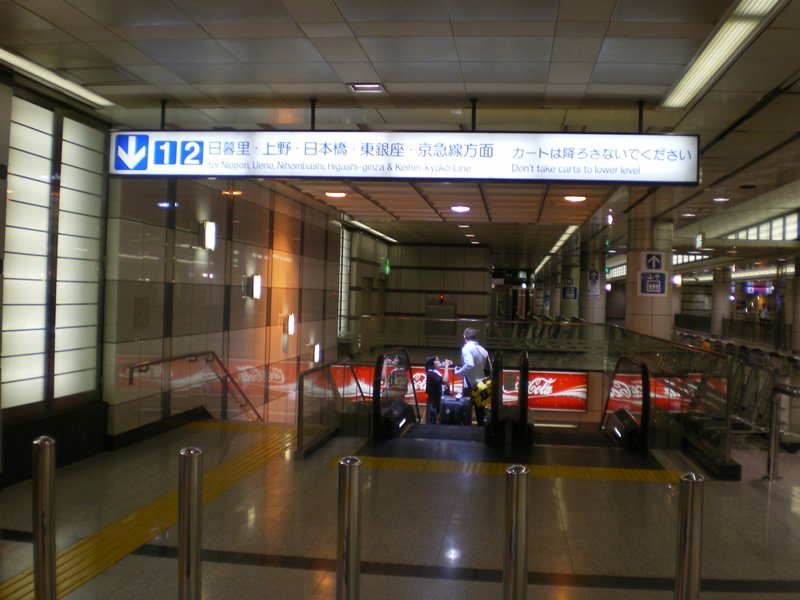
Go down the escalator:
Figure #19
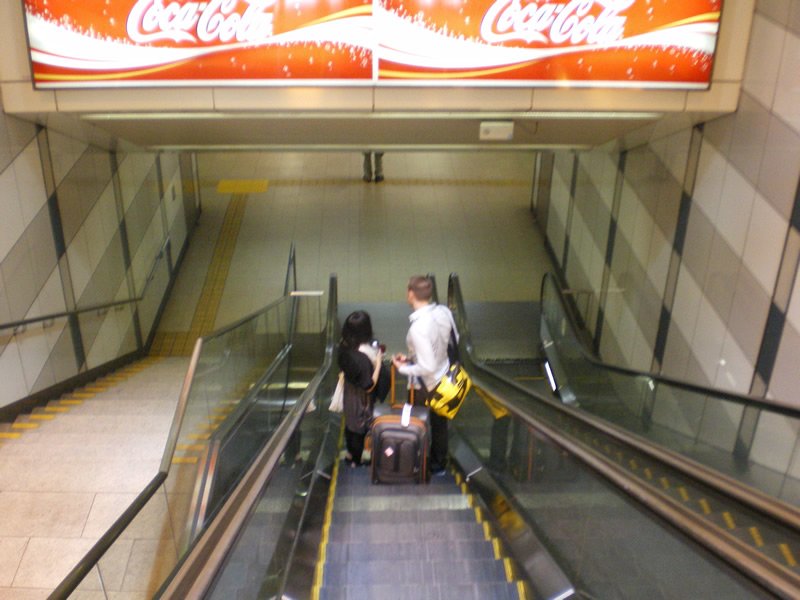
Go down
Figure #20
Down...
Figure #21
You're now at the platforms for the Keisei limited and the Sky Liner.
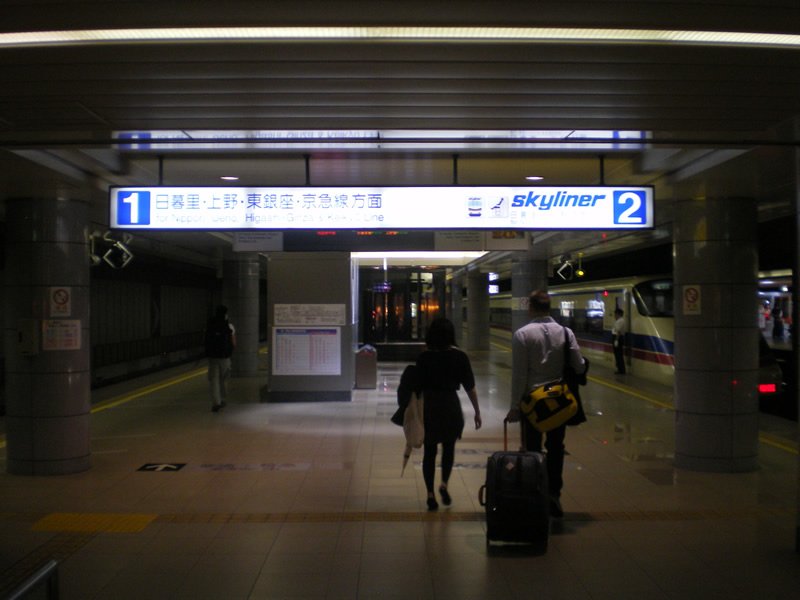
Figure #22
To your left is platform 1 - keisei limited express, to your right is platform 2 keisei skyliner
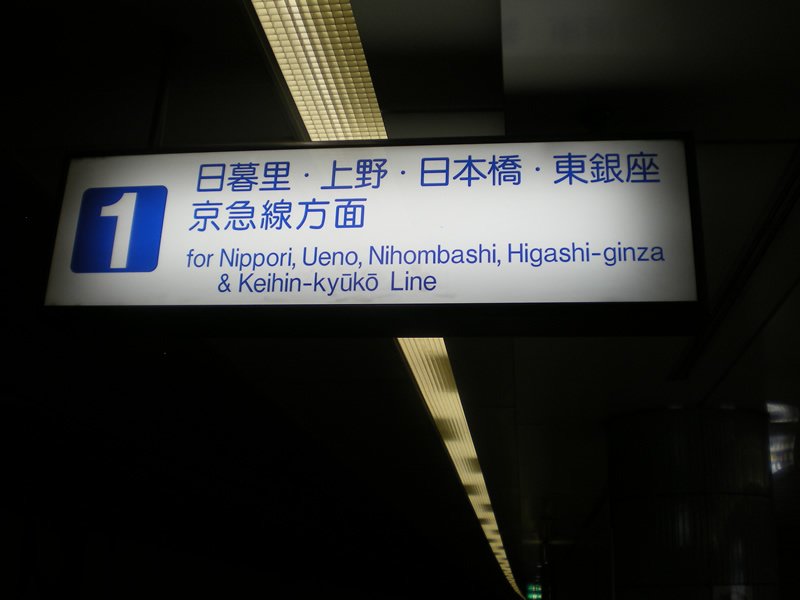
Figure #23
You want to be on the platform that has this sign on it.
Wrapping it up
The Keisei Limited Express will stop at a few different stations, including Aoto. Your stop is Nippori. Once you arrive at Nippori you will get off and then transfer from the Keisei Line to the Yamanote Line at which point you take the Yamanote train from Nippori Station to Otsuka Station. The cost will be 160 yen, making the total trip from Narita to Otsuka 1150 yen. Here is a step by step guide for this remaining leg of the trip
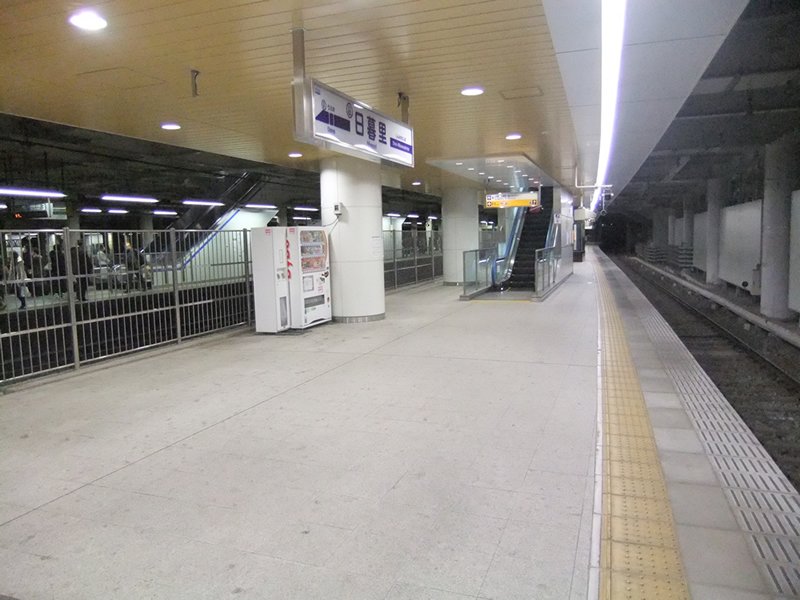
Figure #24
Hop off the Keisei express and on to the platform. Locate the escalator up. Ascend the escalator, you are goin to transfer from the Keisei line to the Yananote line
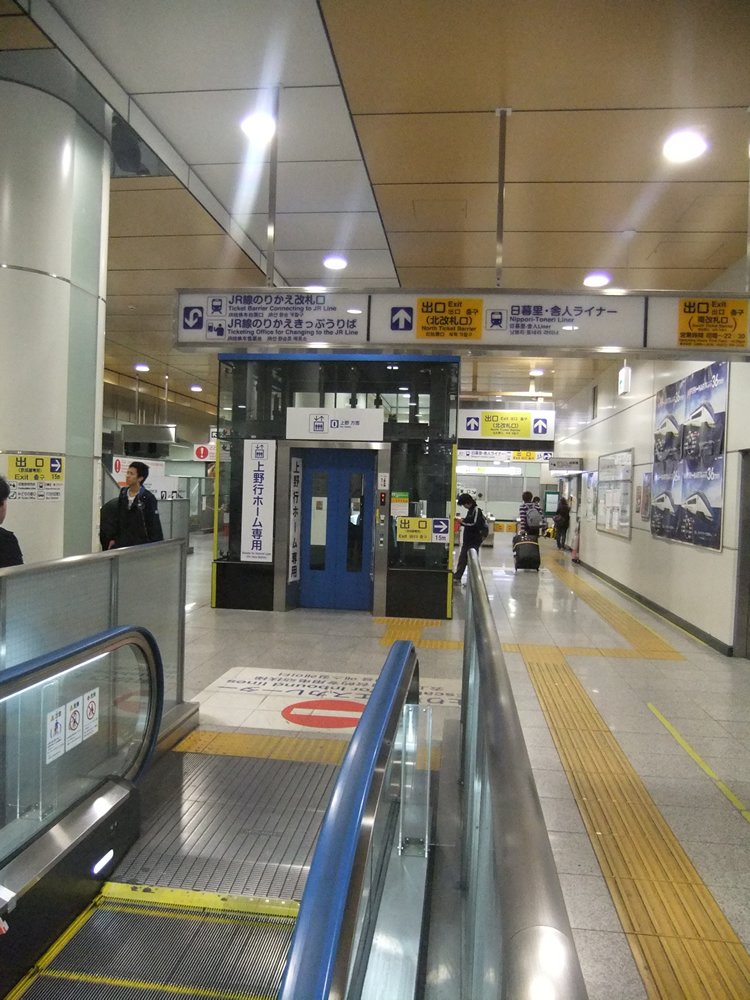
Figure #25
After ascending the escalator you should see a landing like this. Walk straight forward, all the way down to the ticketing area
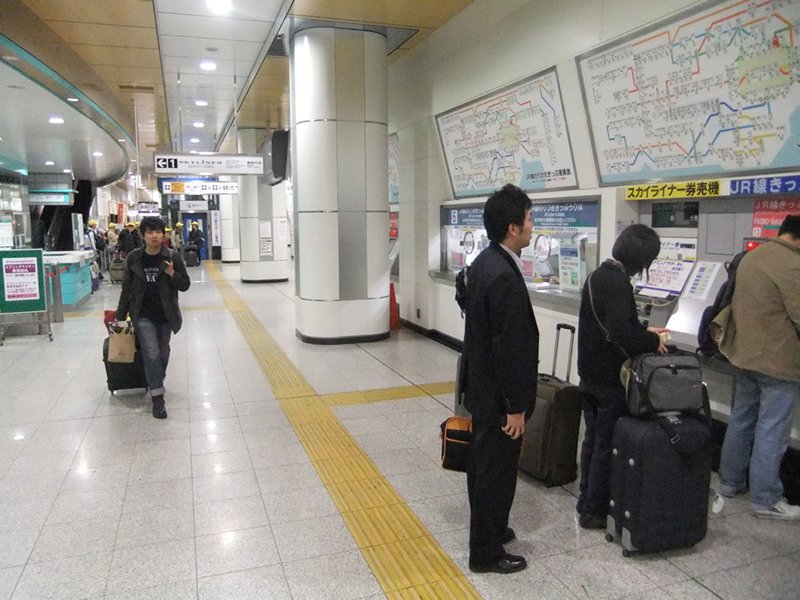
Figure #26
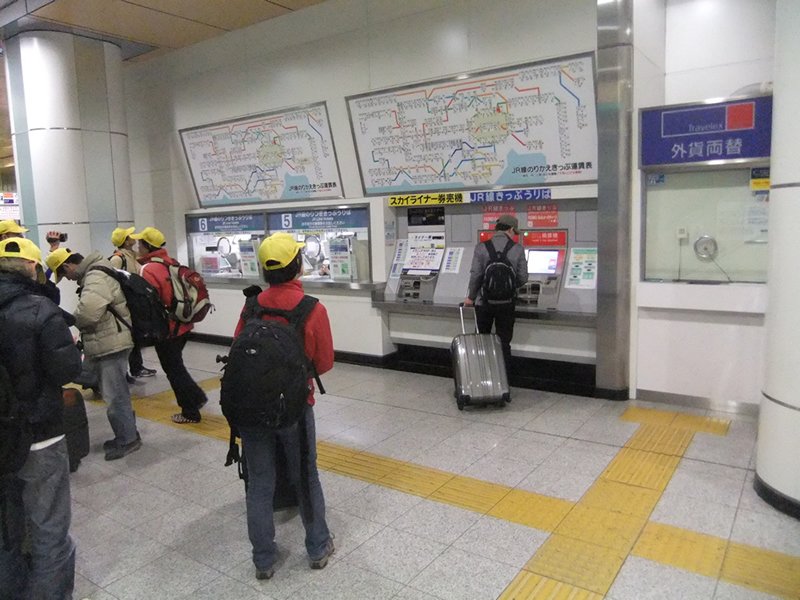
Keisei Ticketing area, here you will take your 1000 yen ticket and adjust the fair for your transfer
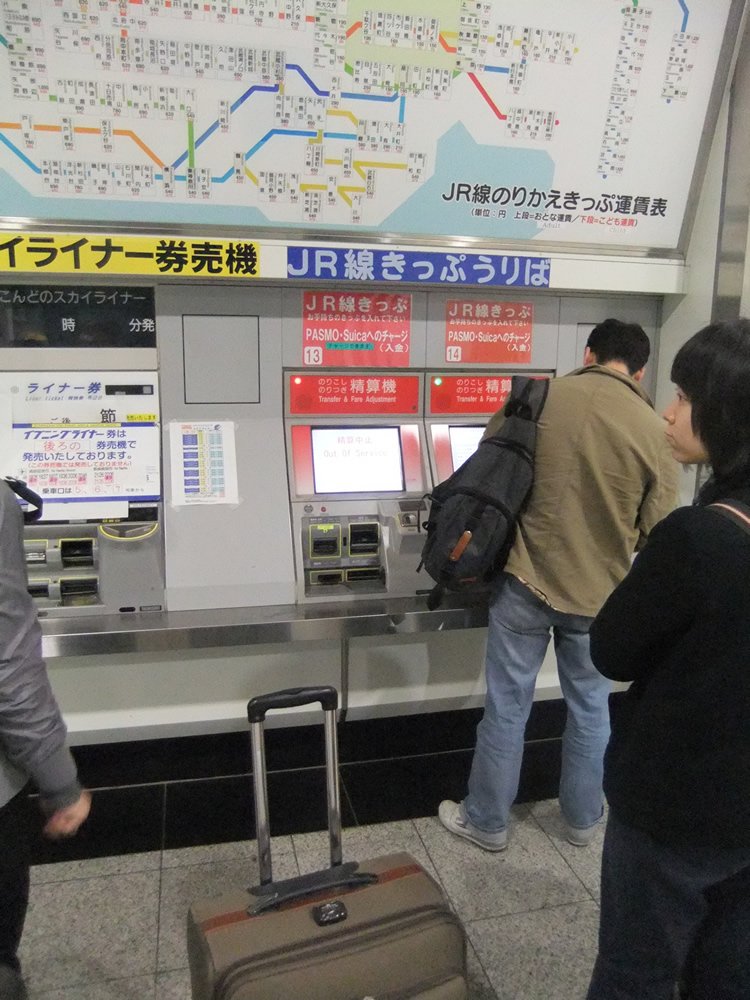
Figure #27
Approach these red machines
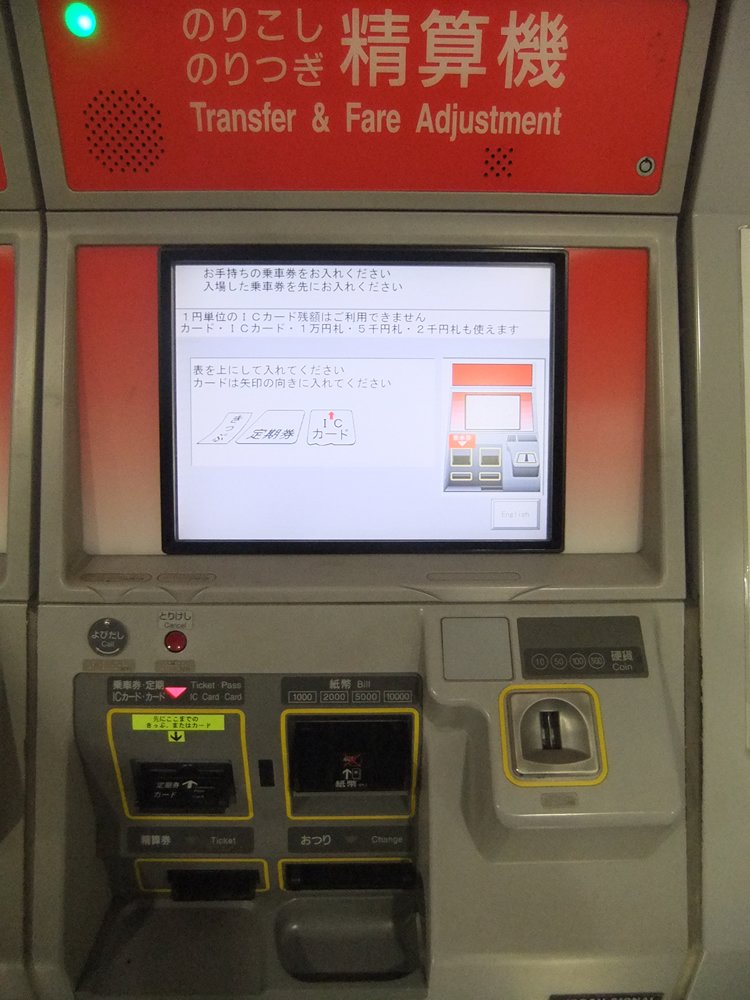
Figure #28
This is a Fair Adjustment Machine
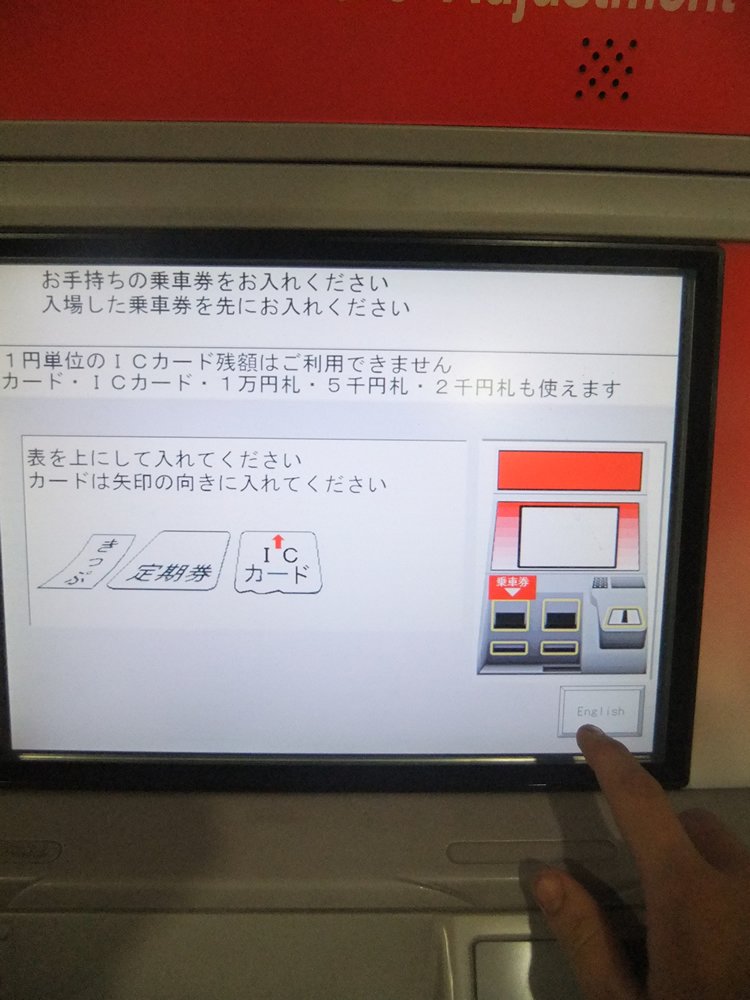
Figure #29
1. Press the 'english' button in the bottom right corner.
Figure #30
2. Insert your ticket
Figure #31
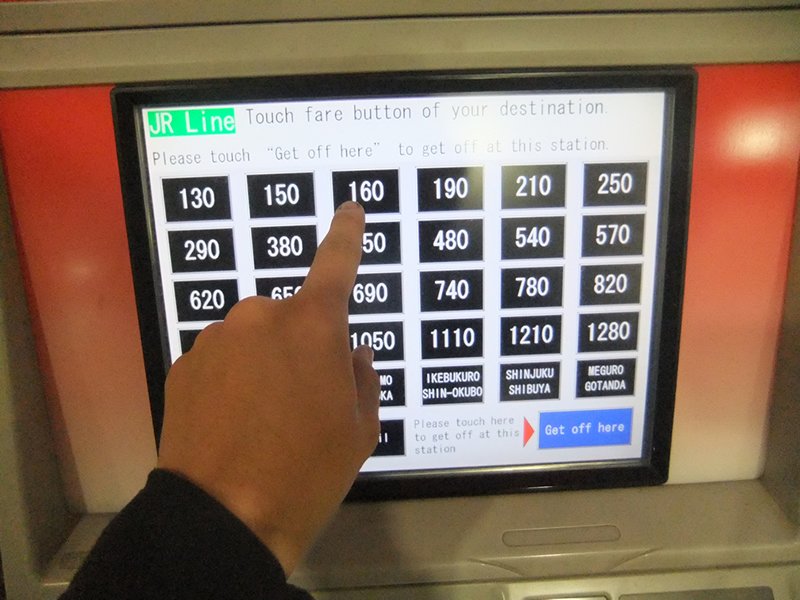
3. Choose amount you want to pay (150)
Figure #32
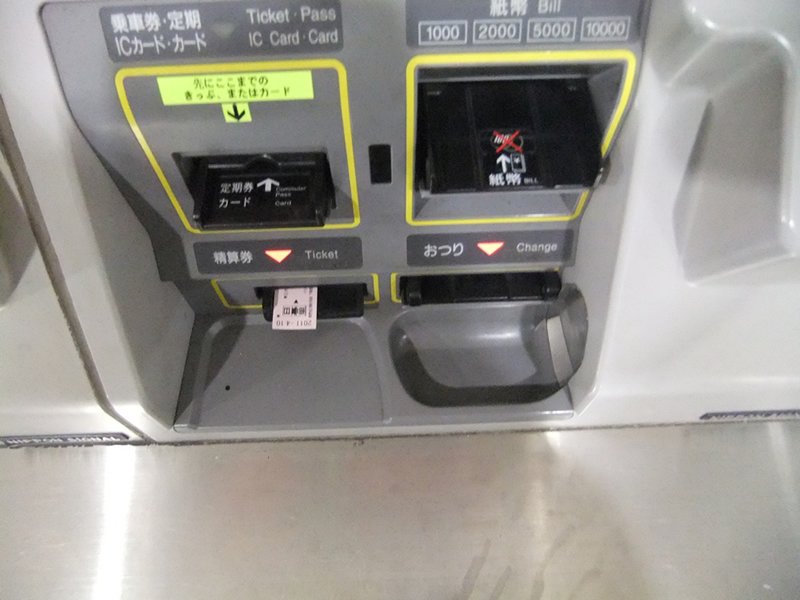
4. Your new ticket pops out; take it.
Figure #33
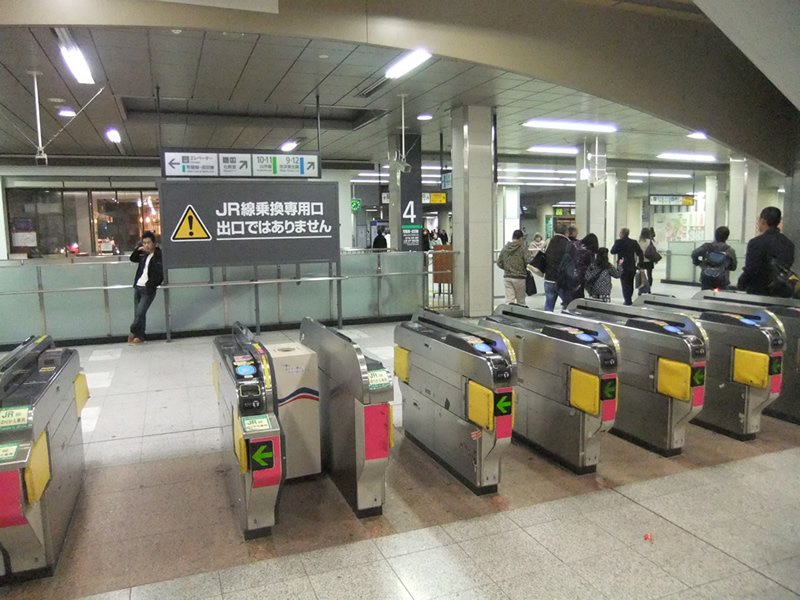
Step back from the ticketing area
Figure #34
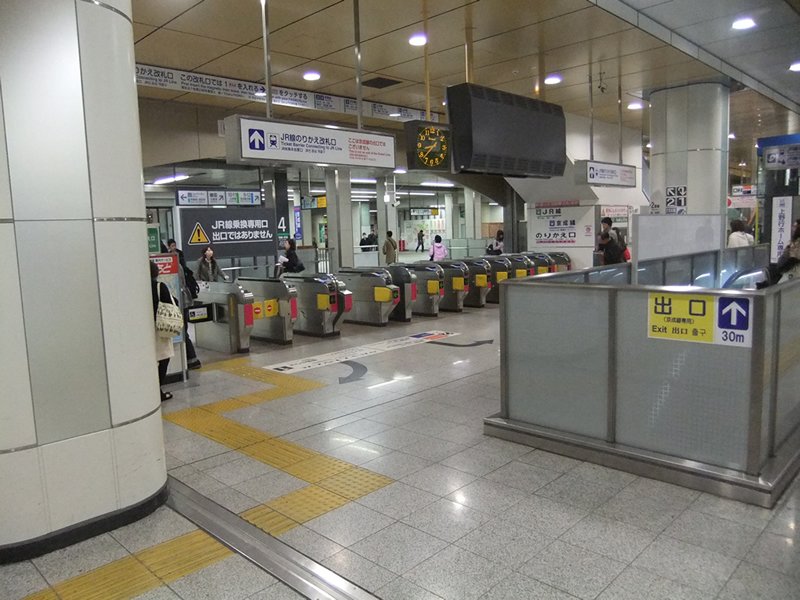
A few steps away is the Ticket Gate/Barrier
Figure #35
Approach the barrier with ticket ready
Figure #36
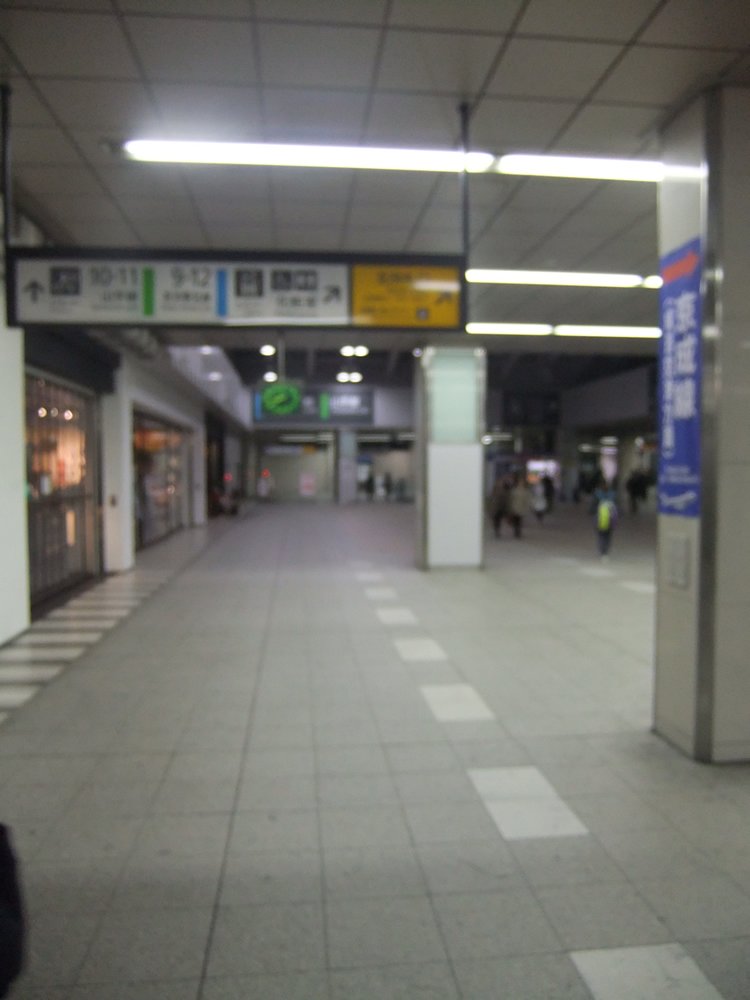
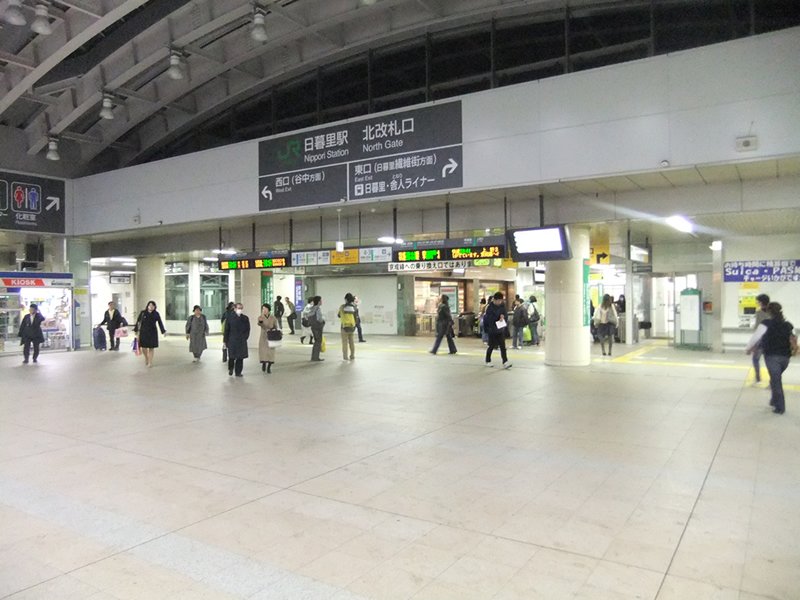
After passing through the barrier you will see this sign in front of you. It tells you what directoin to walk for each train line
Figure #37
Follow the arrow indicated for the green Yamanote line.
Figure #38
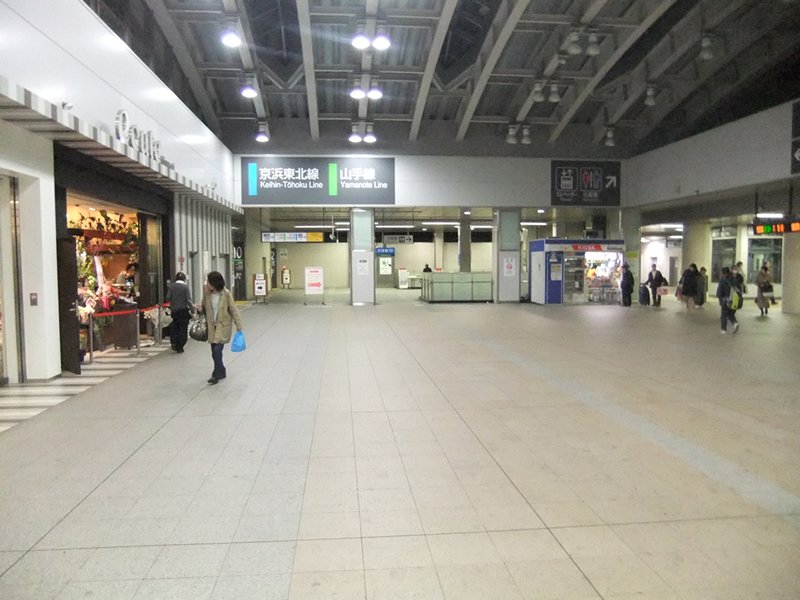
You'll come into a large central room, with a large sign on the back, puinting where the Yamanote platforms are. Walk towards the sign.
Figure #39
What you'll see on your right in the large central room.
Figure #40
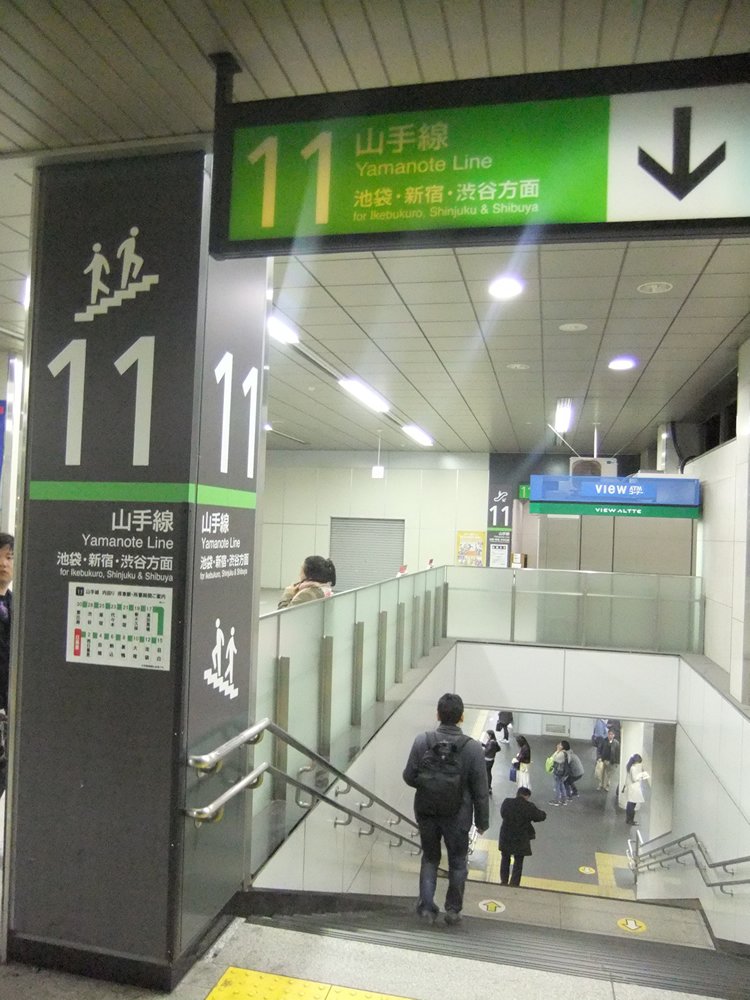
You want Platform #11, follow the signs that indicate its direction
Figure #41
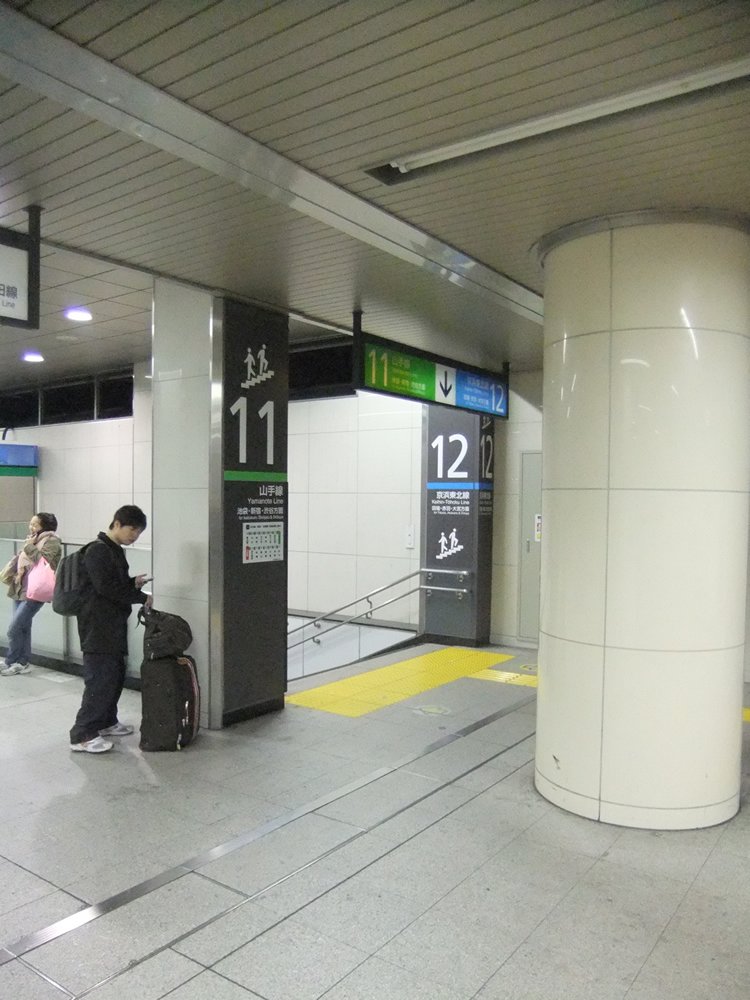
Platform #11 entrance, take the stairs down to the platform. This train will take you to Otsuka.
Figure #42
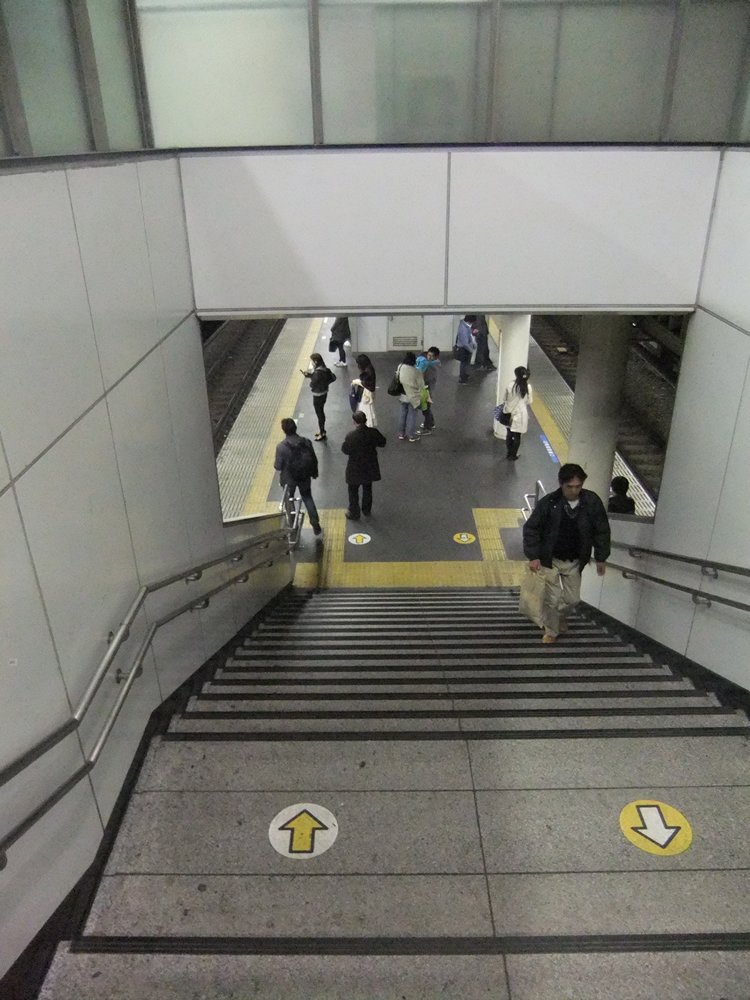
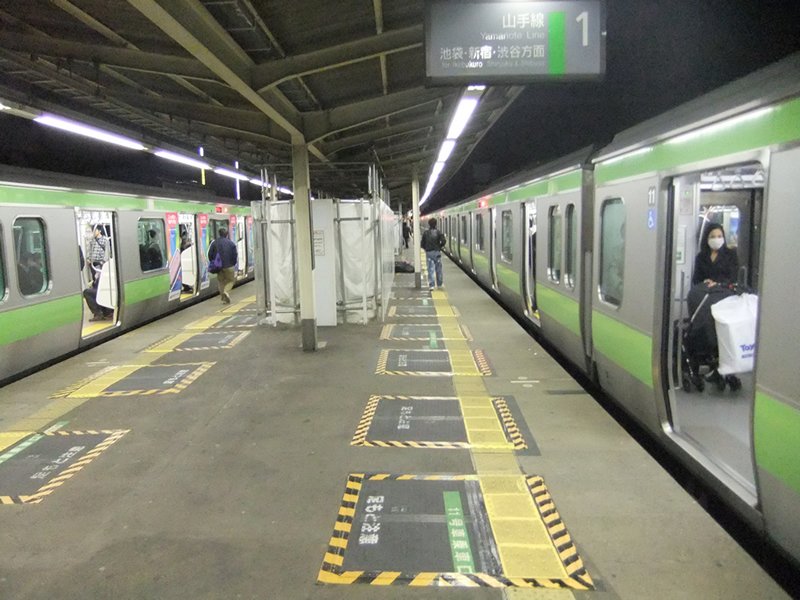
Go down the stairs. Arrive at the landing, take the train on Platform #11 (not the adjascent platform #12) Get on the train and get off at Otsuka Station.
Figure #43
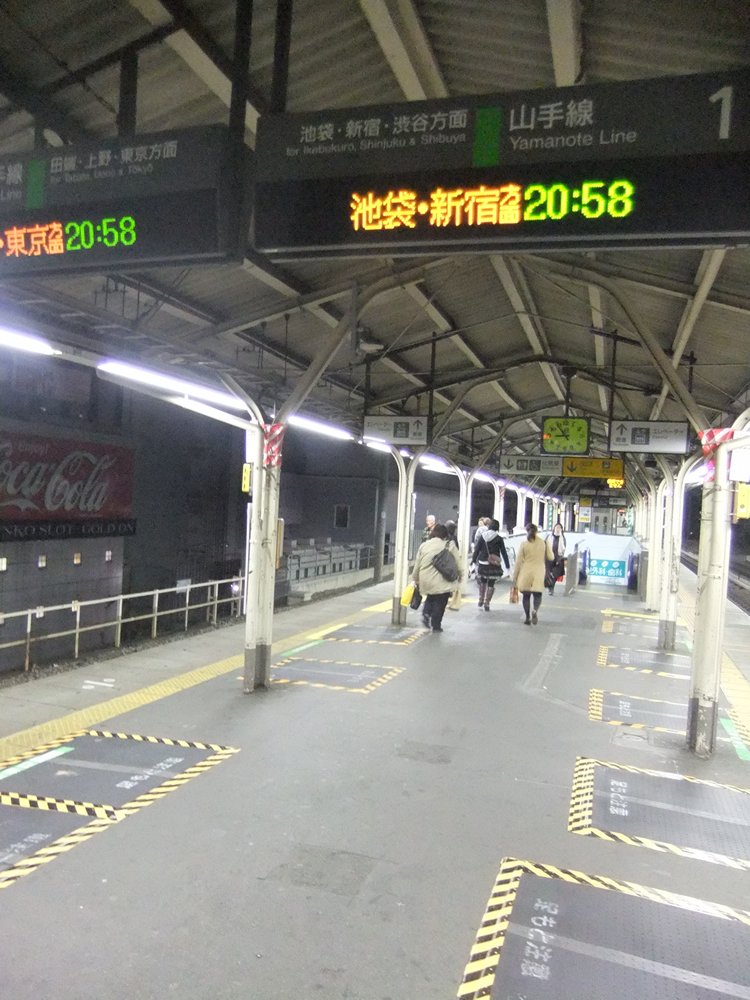
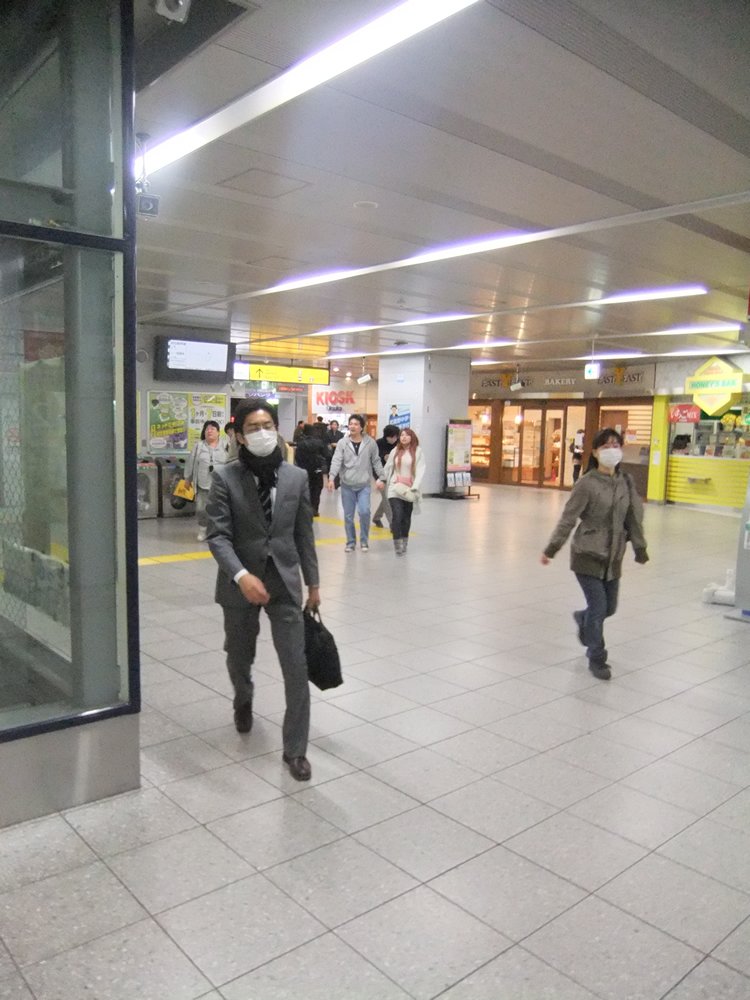
Getting off the train at Otsuka station
Figure #44
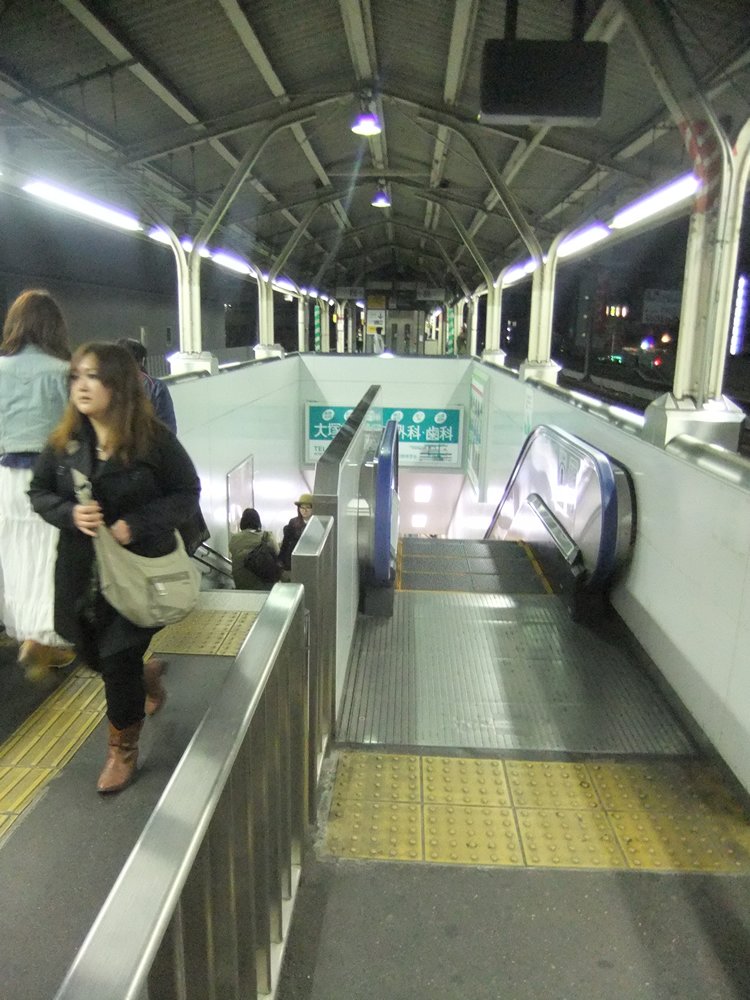
Walk down the platform towards the exit. Exit signs will be found over head.
Figure #45
Escalator and stairs going down to the exit.
Figure #46
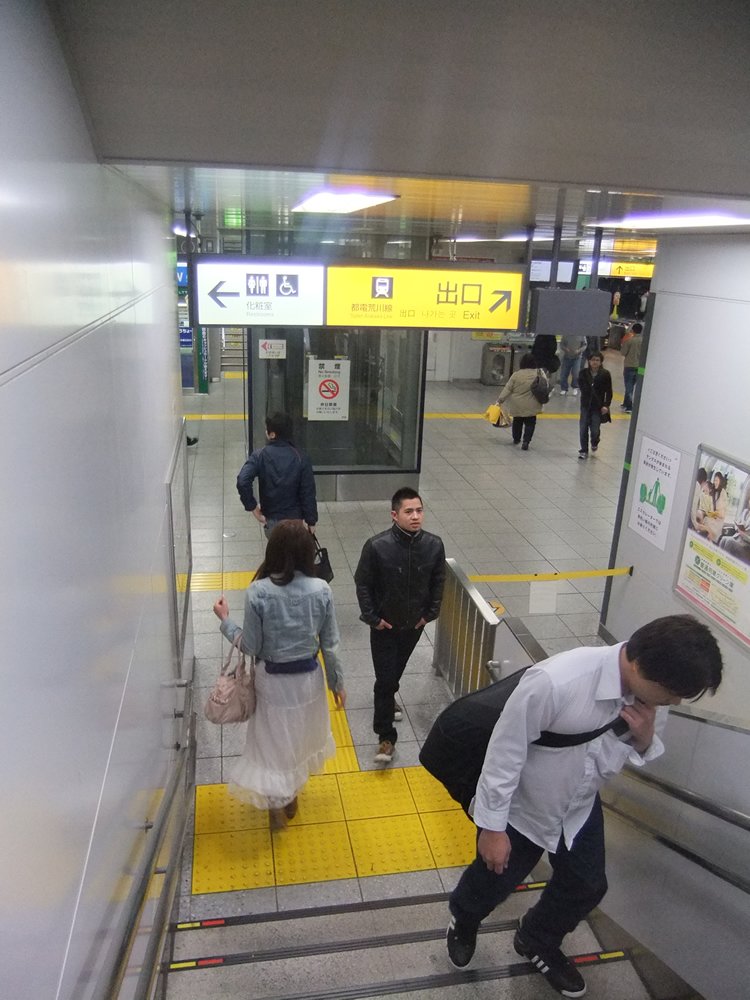
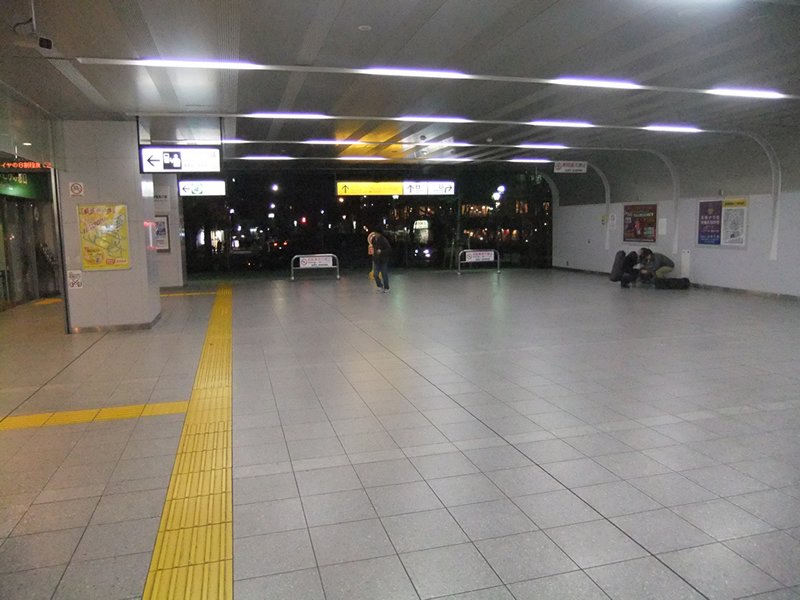
Landing of the stairs.
Figure #47
Turn right 45 degrees and walk forward.
Figure #48
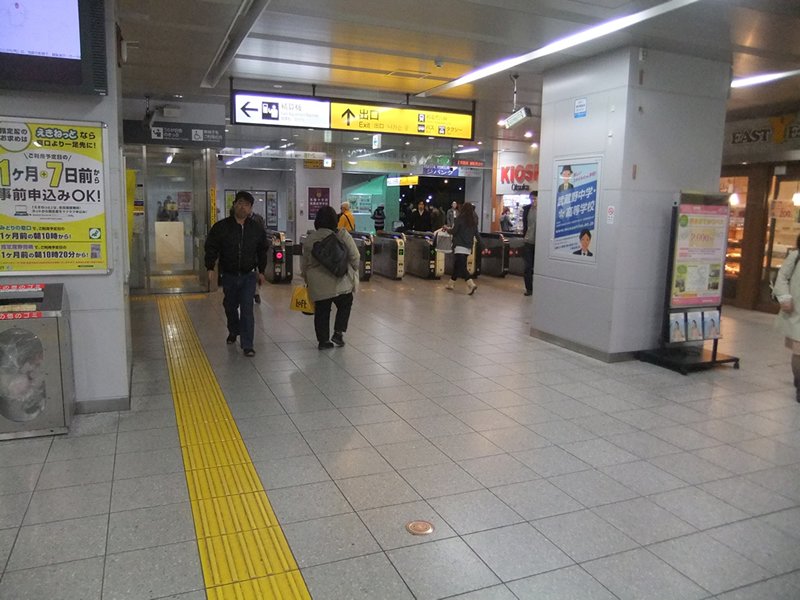
Continue walking foward and you'll approach the ticket barrier.
Figure #49
After walking through the barrier, you'll notice you can turn left or right, each one a different exit.
Figure #50
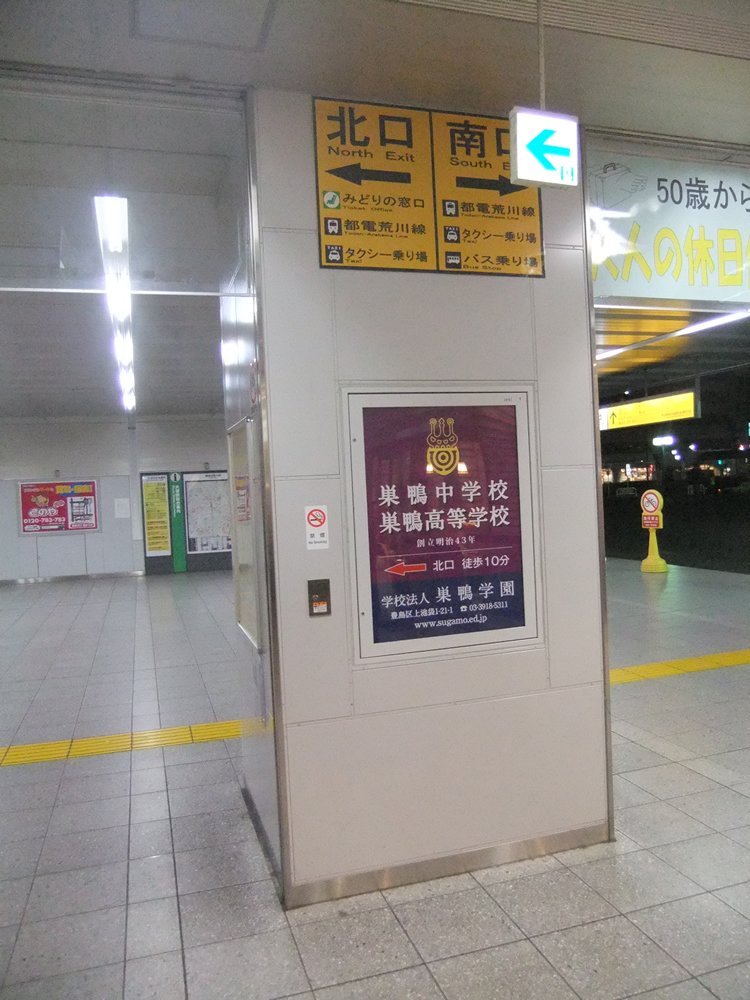
A close-up on this sign
Figure #51
Turn left and take the North Exit