How to use the Yamanote Line train - Ikebukuro to Shinjuku and back
[ Download PDF ]
Shinjuku east to Ikebukuro - Part Two - Back to Ikebukuro
Figure #1
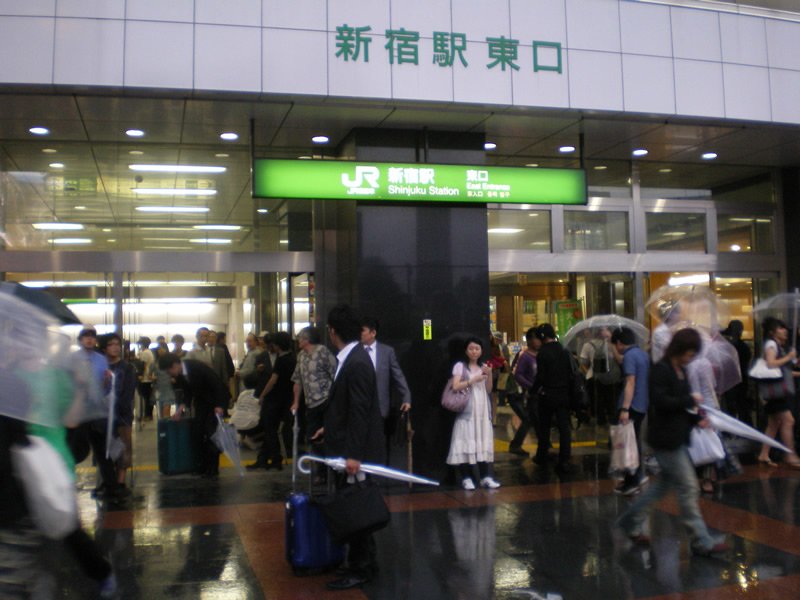
We start off at the East Exit of Shinjuku. Walk in on the right entrance.
Figure #2

This is the right entrance, notice the green JR sign, walk towards it.
Figure #3
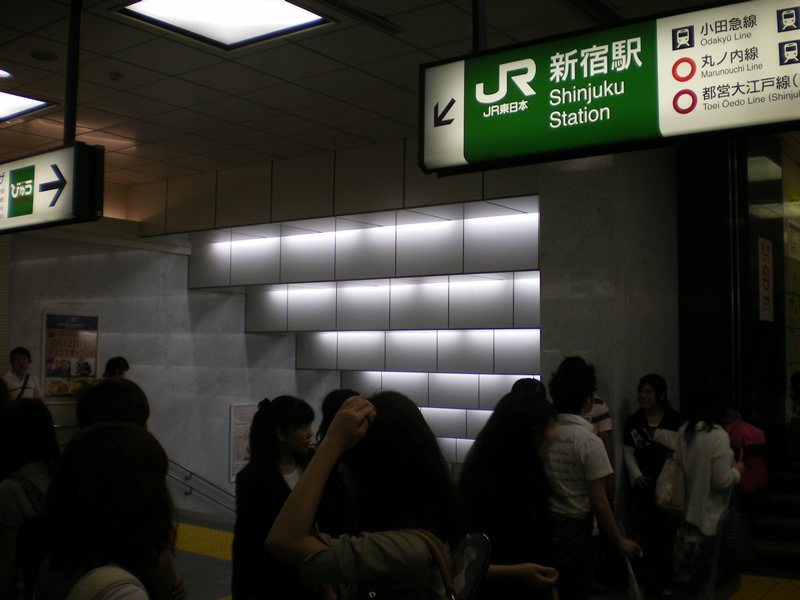
Follow JR sign and turn left towards the stairs.
Figure #4
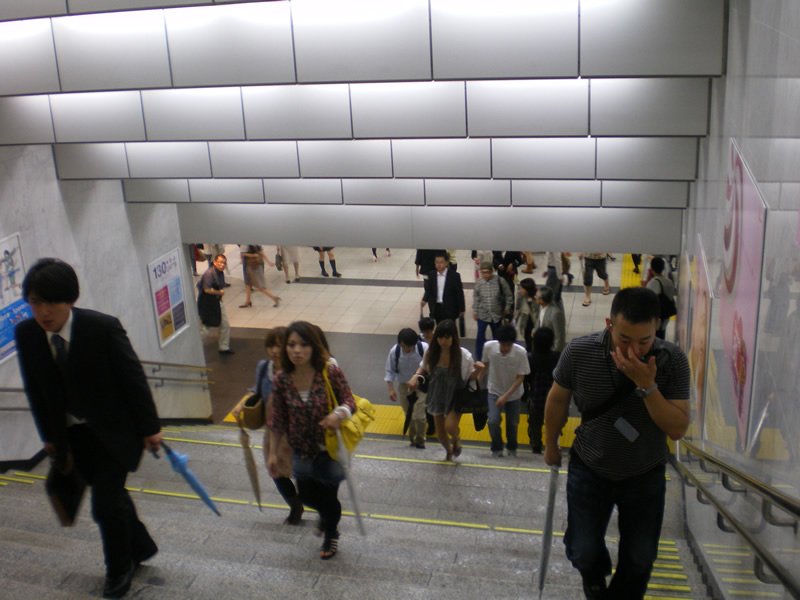
Take these stairs down. (note that these are the same stairs that you came up, when you were exiting at the 'kabukicho exit'.
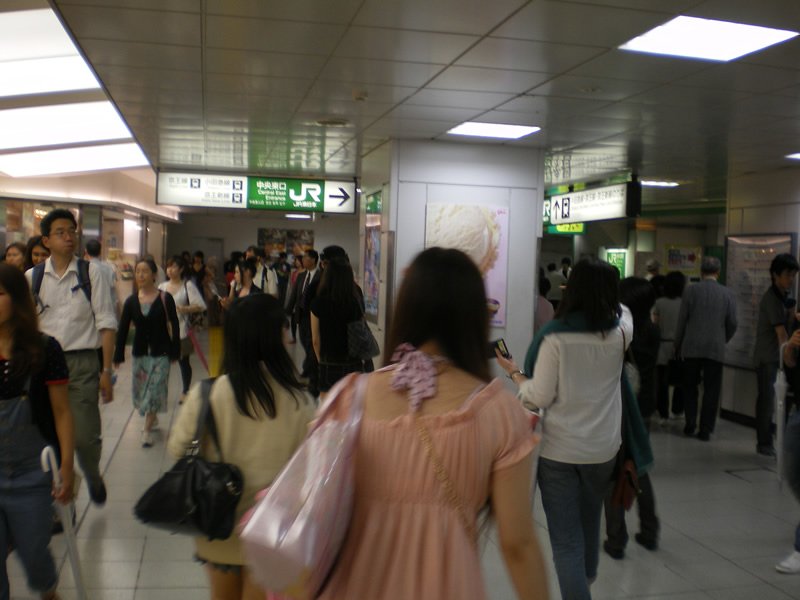
Figure #5
At the landing of the stairs you will find this view in front of you. We want the JR Central East Exit. So follow that sign and walk straight.
Figure #6
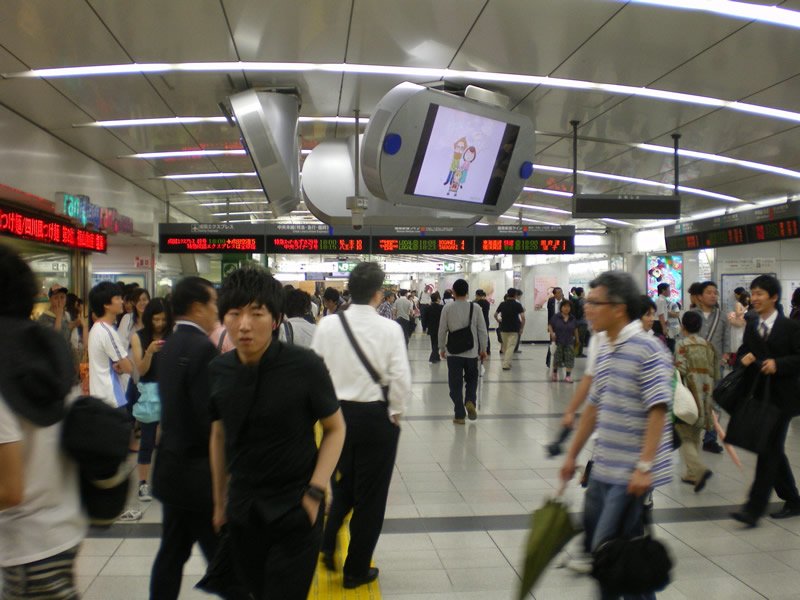
This view is just a few steps ahead of getting off the stairs. This is the central intersection point of the East Exit/Entrance. 50 paces forward from this point on the left there is the JR Ticketing.
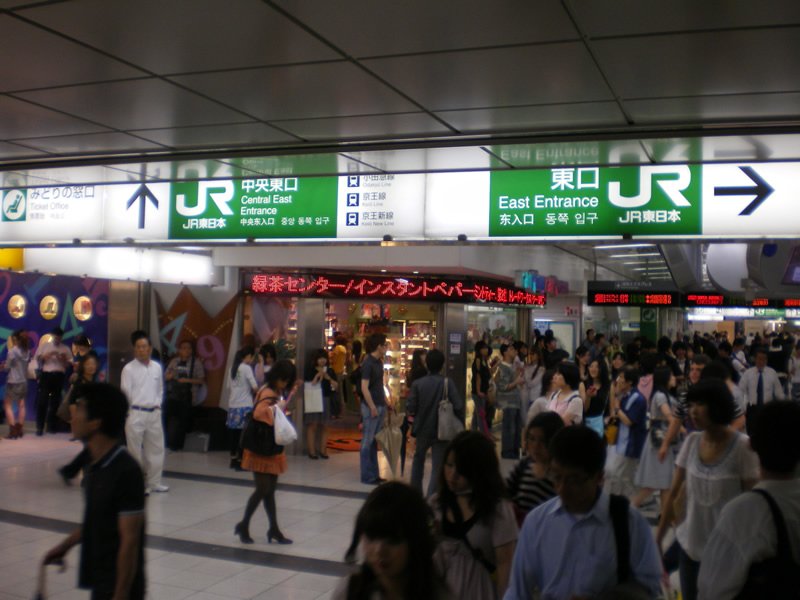
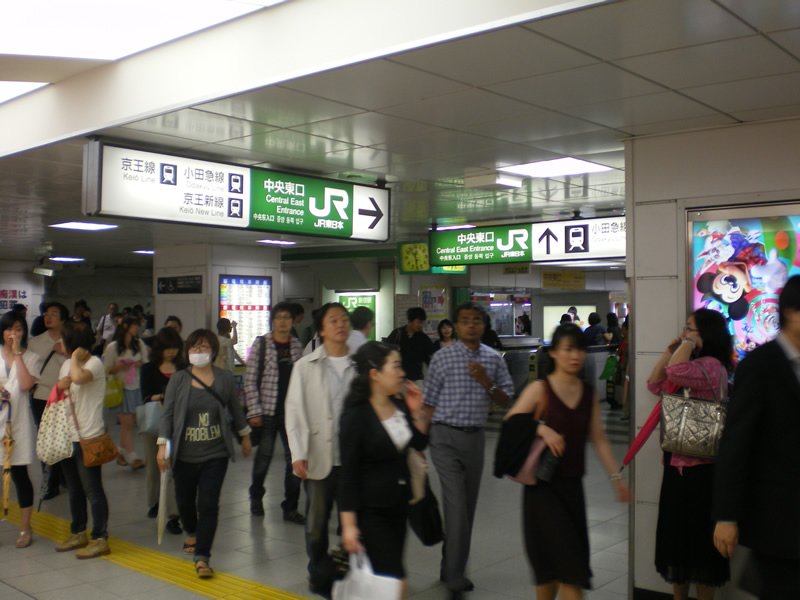
Figure #7
Still at the base of the steps, here is a close up on where we want to go: JR Central East Entrance. Now, walk forward.
Figure #8
Moving forward past the middle intersection, we see on the right the JR Ticketing. Go on over and buy your ticket.
Figure #9
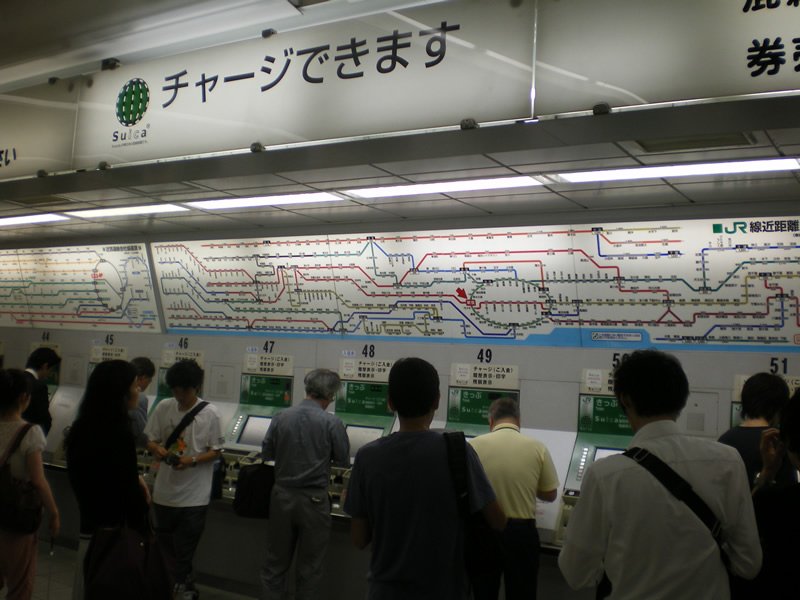
Close up of the Ticketing.
Figure #10
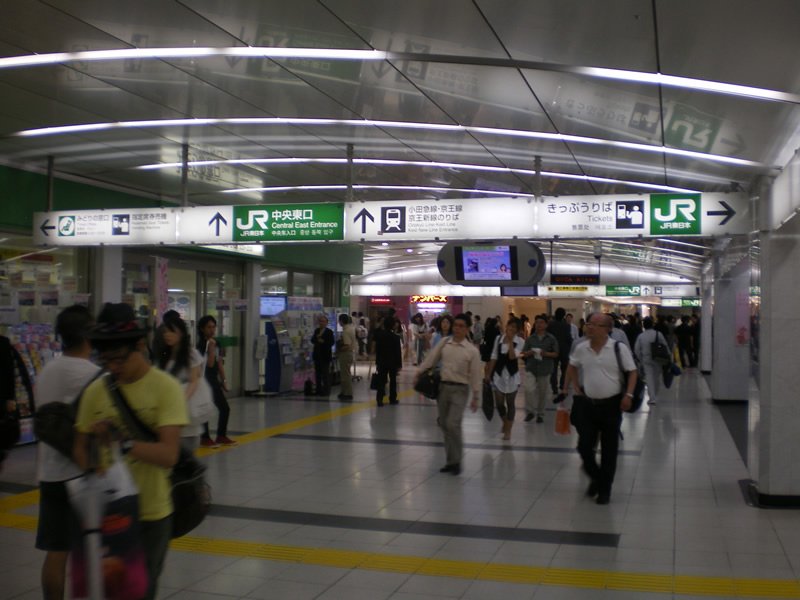
After buying your ticket, this should be your view, walk straight, following that Central East Entrance sign.
Figure #11
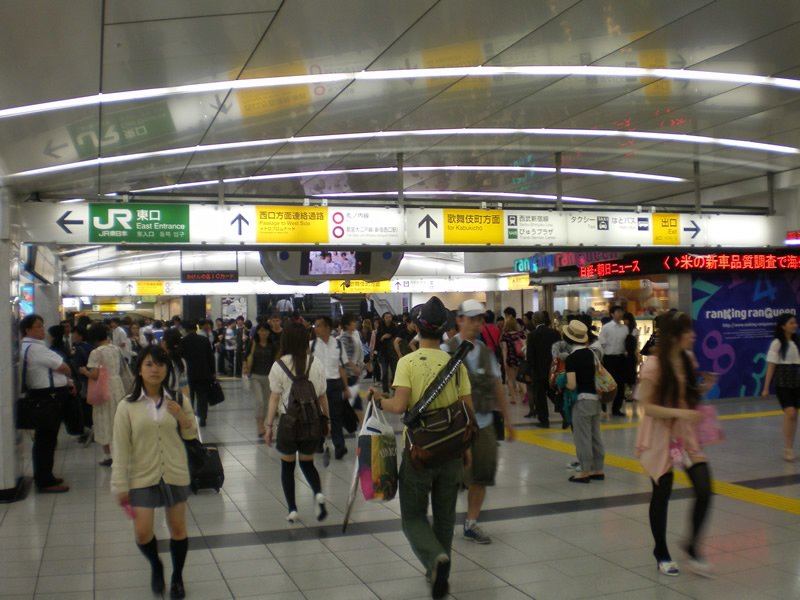
Take a moment and turn around to see this view, this is where you came from. The East Exit/Entrance. NOTE: You can take that green 'East Entrance' JR sign if you want. But this tutorial is using the Central East route.
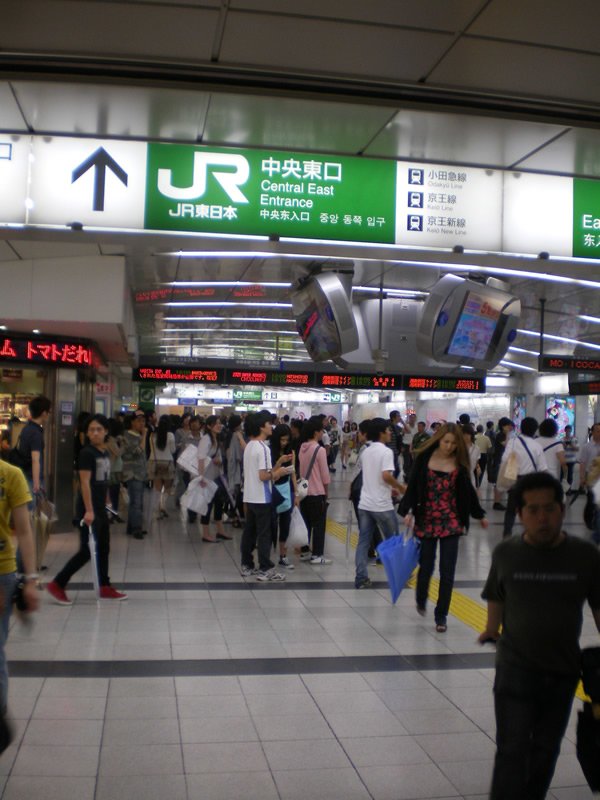
Figure #12
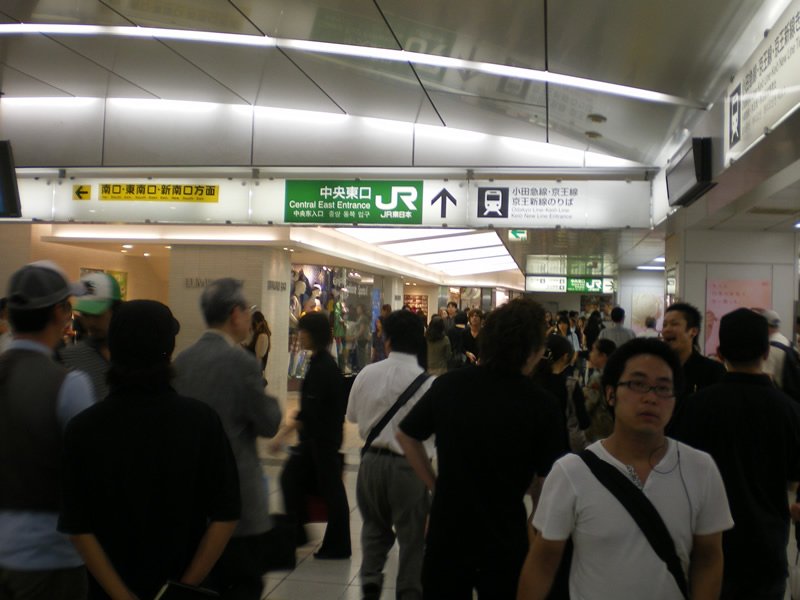
Turn back around and face our sign from before 'Central East Entrance' and walk forward.
Figure #13
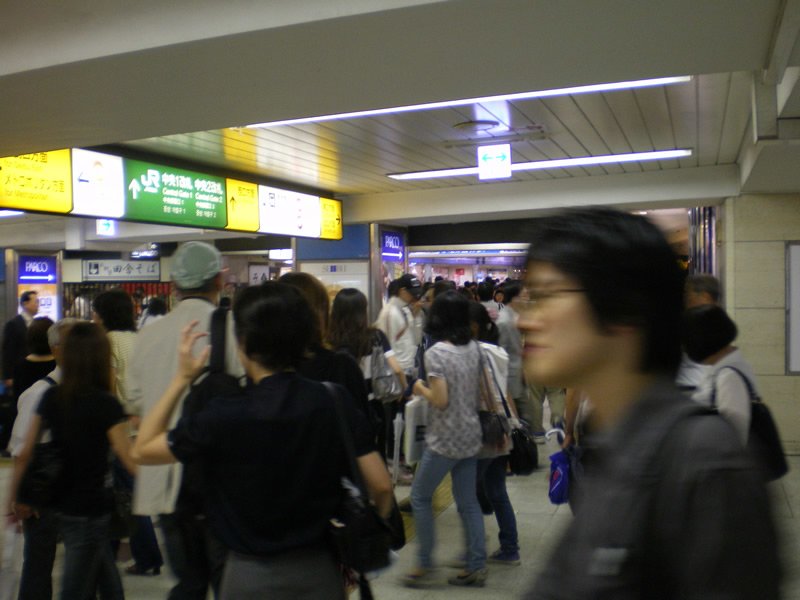
Continue walking forward and notice the JR sign with the arrow pointing to the right, follow that arrow.
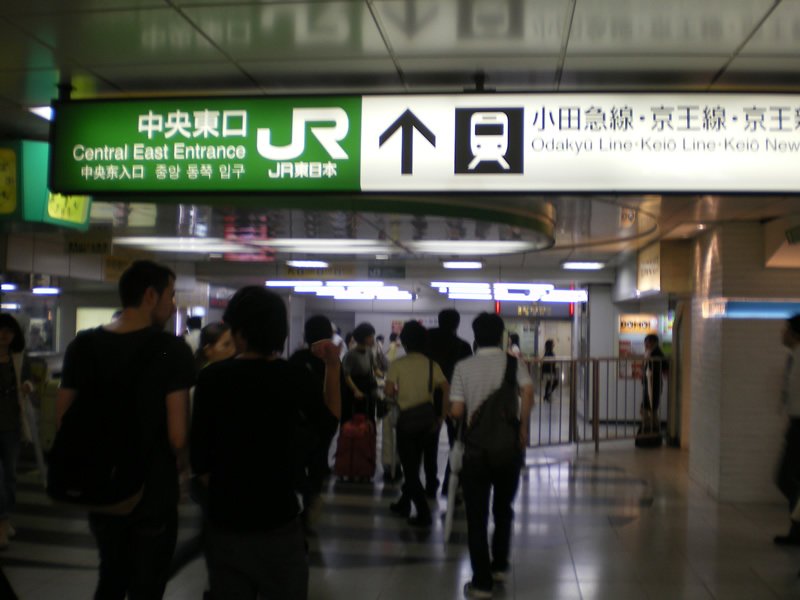
Figure #14
Close up on the sign from the last figure. As you can see it takes you towards the Ticket Gate. Follow the arrow and turn right.
Figure #15
You will then see this sign, directing you to the Ticket Gate. Keep walking straight.
Figure #16
You will see this view after passing through the ticket gate, walk straight and turn left.
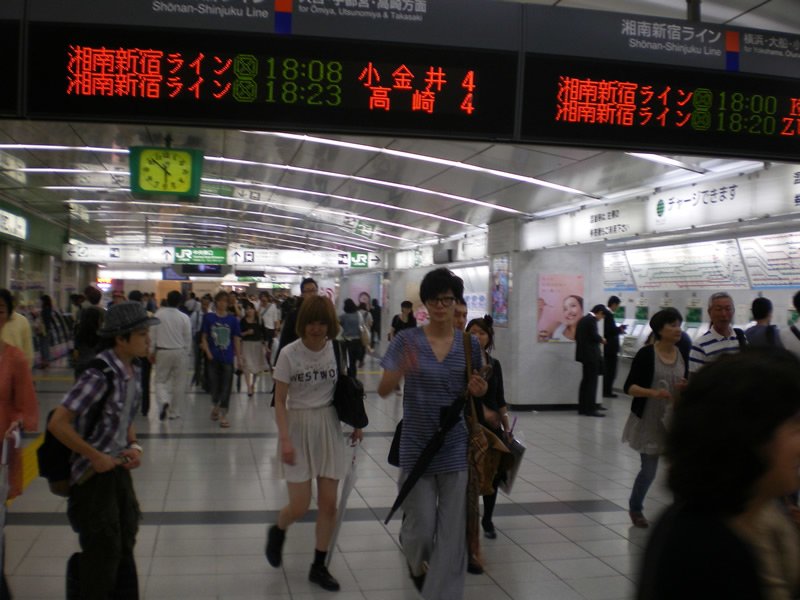
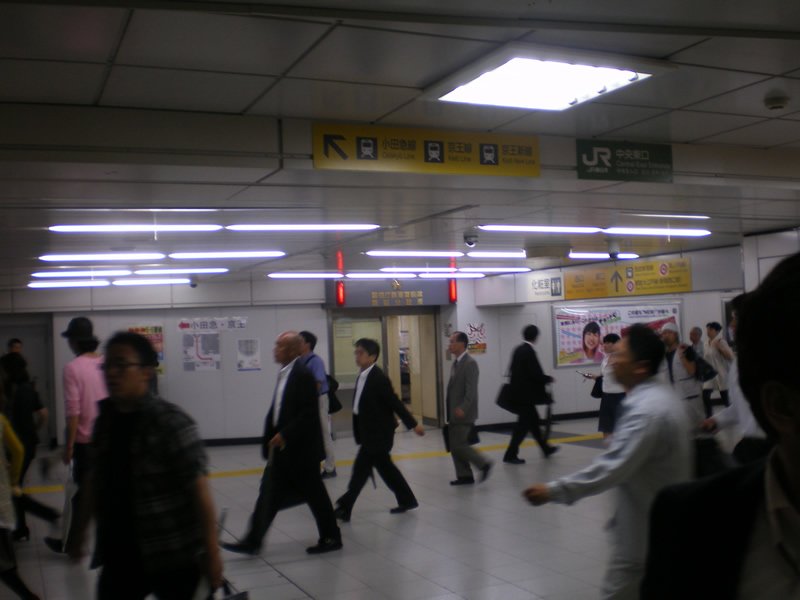
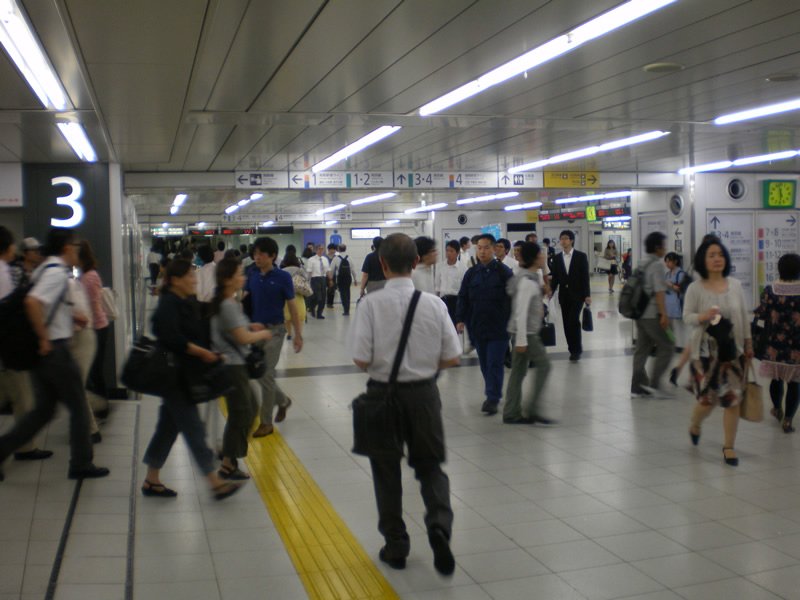
Figure #17
After turning left and walking forward a few paces you will see this view. You are now approaching the main hall with all the platforms. Walk straight into this intersection.
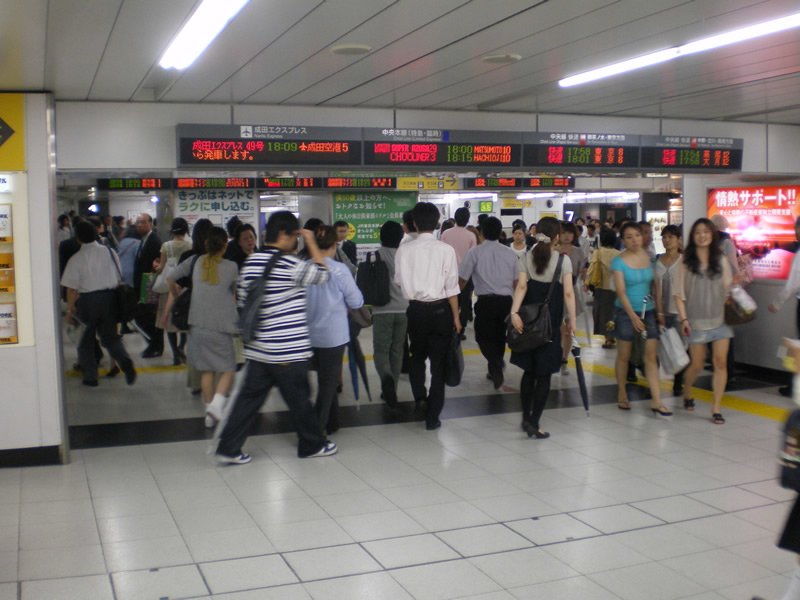
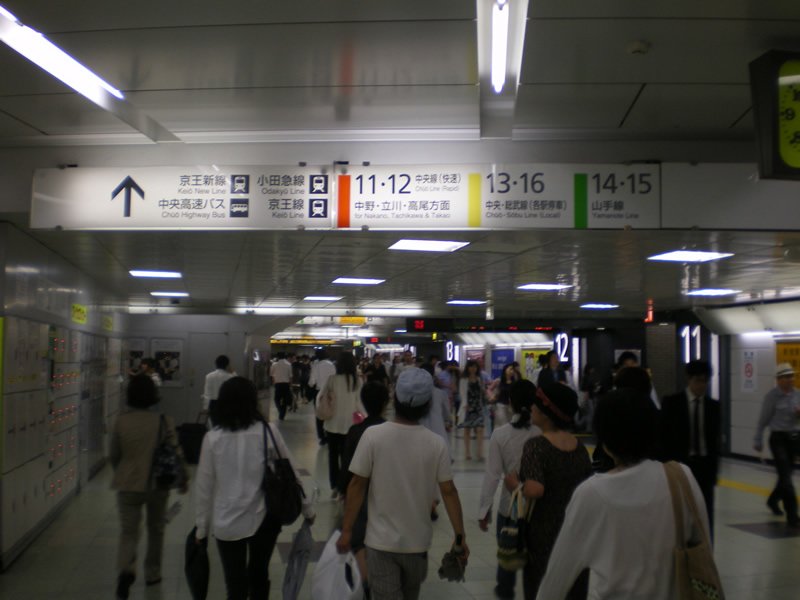
Figure #18
Step out into the middle and notice all the signs.
Figure #19
Turn around and look for Yamanote platforms14 and 15
Figure #20
Once you locate the sign for Plat forms 15 and 14 follow the arrow, in this case it is left.
Figure #21
Notice that in Shinjuku Station platforms are indicated by these big glack boxes with white lit numbers.
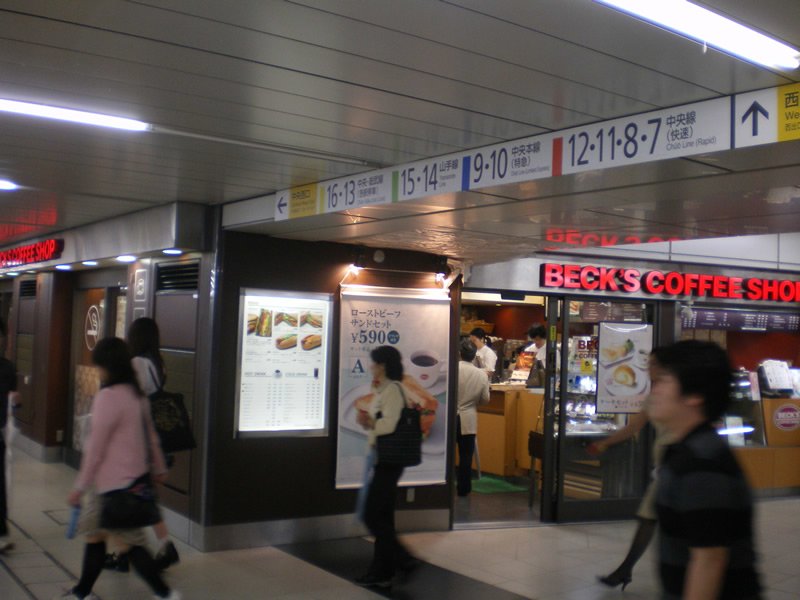
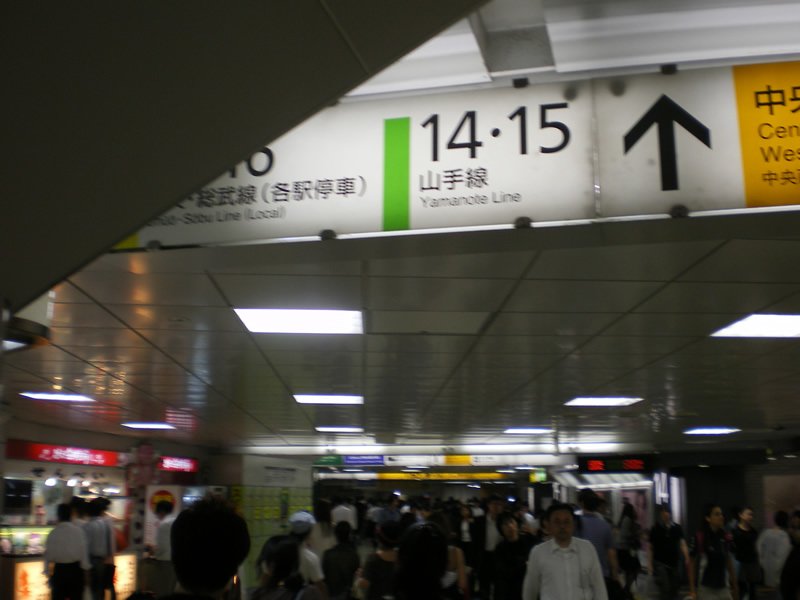
Figure #22
Walking along notice the signs on the ceiling, this one indicating that plat forms 14 and 15 are straight ahead.
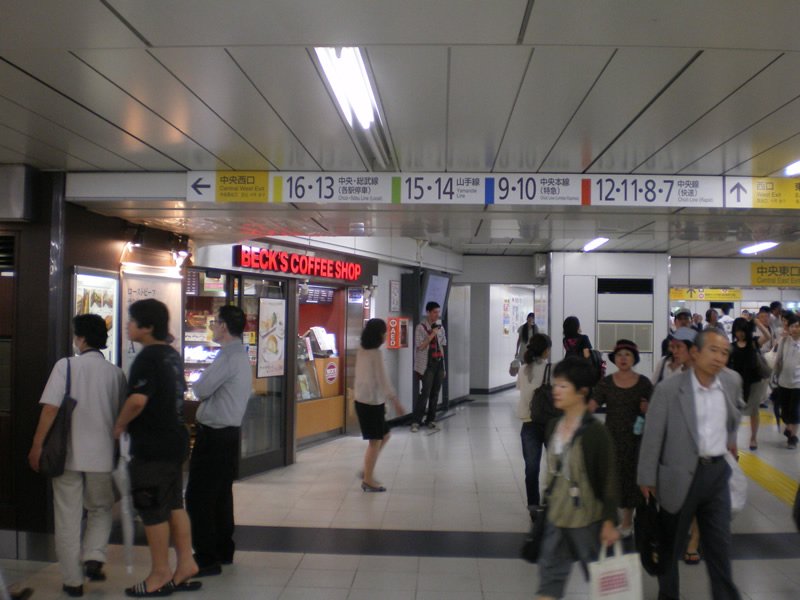
Figure #23
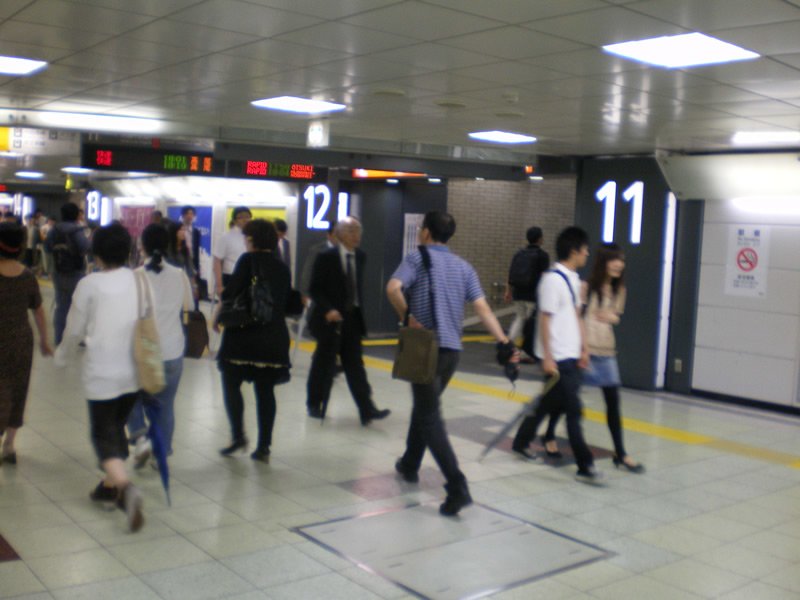
Passing Platforms 11 and 12, we're getting closer.
Figure #24
Almst there! Keep going straight.
Figure #25
There it is on the left. Plat form 14, Yamanote.
Figure #26

A little further a head and we have Platform 15 on our left. We're going to Ikebukuro so go up Platform 15.
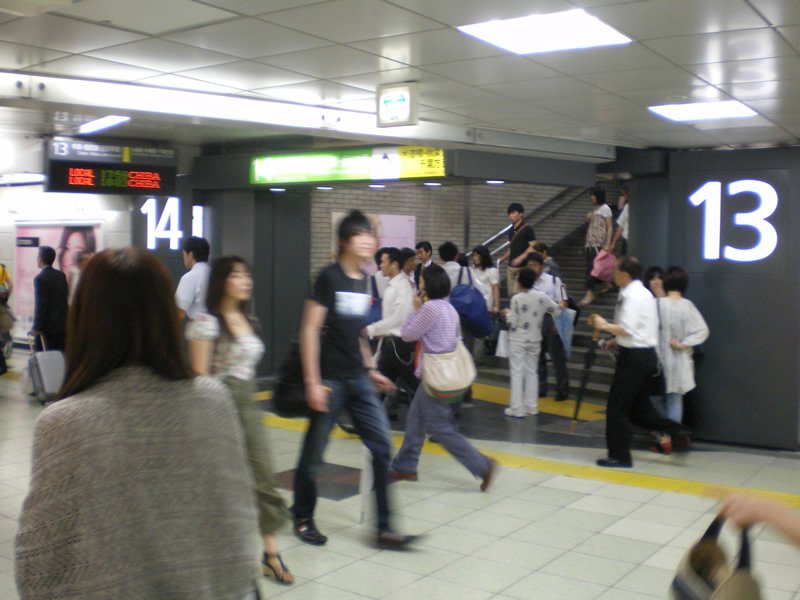
Figure #27
After ascending the stairs you'll see this at the landing.
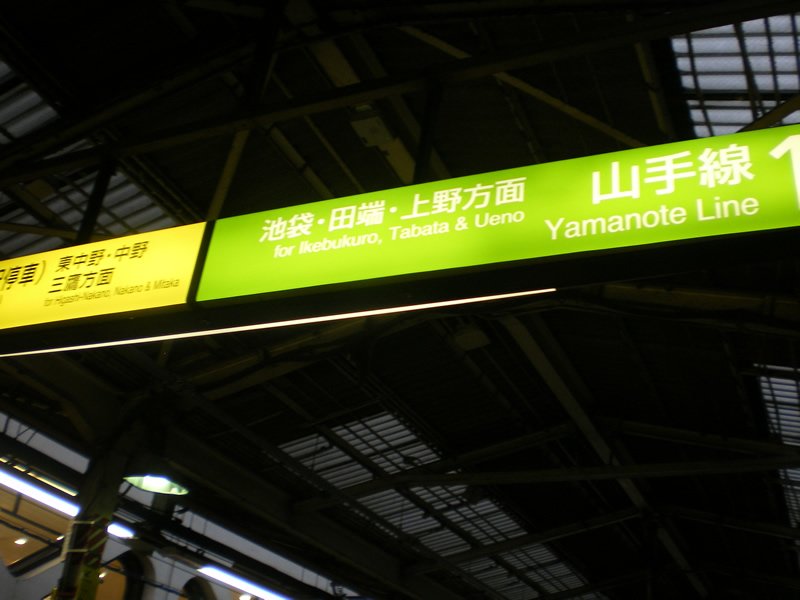
Figure #28
Platform 15, notice that it says for Ikebukuro, Tabata and Ueno.
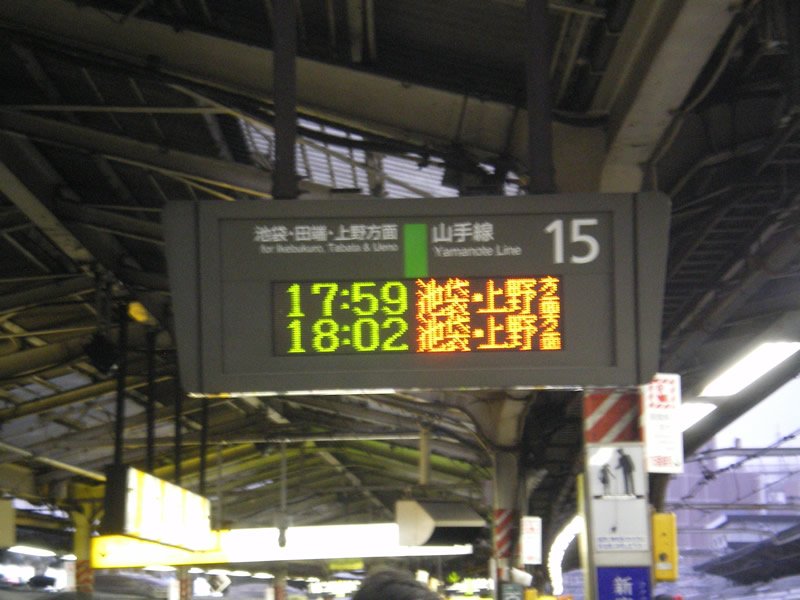
Figure #29
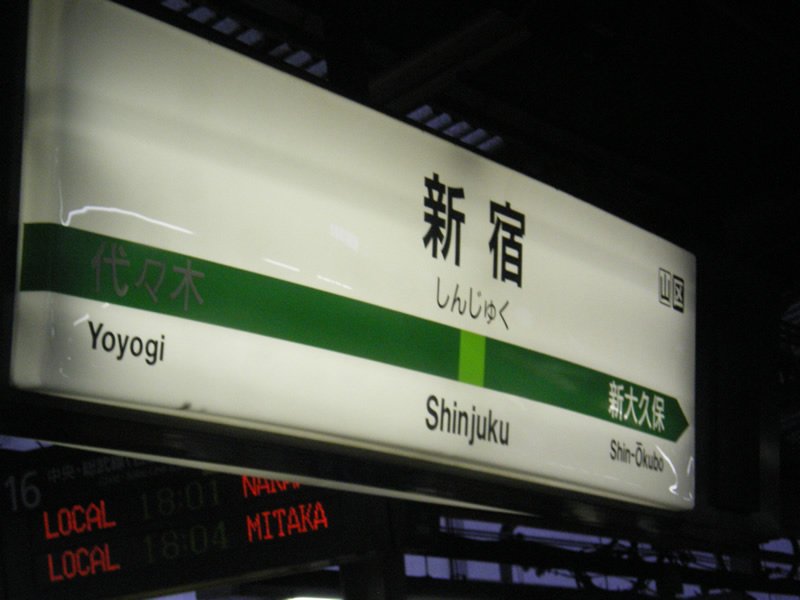
Notice that the green arrow on this platform signis pointing in the direction of the next station, "shin-okudo" which is heading towards Ikebukuro.
Figure #30
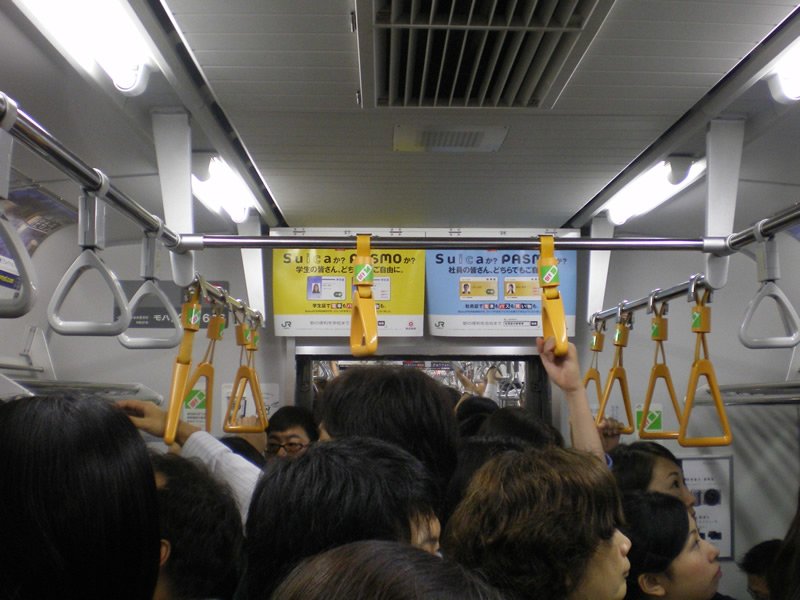
Hop on the train.
Figure #31
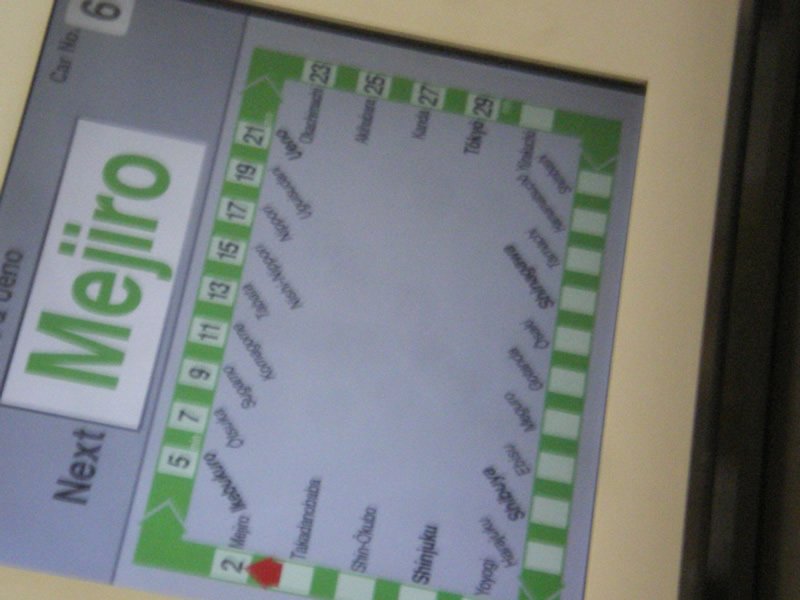
Notice the direction of the red arrow and the next stations.
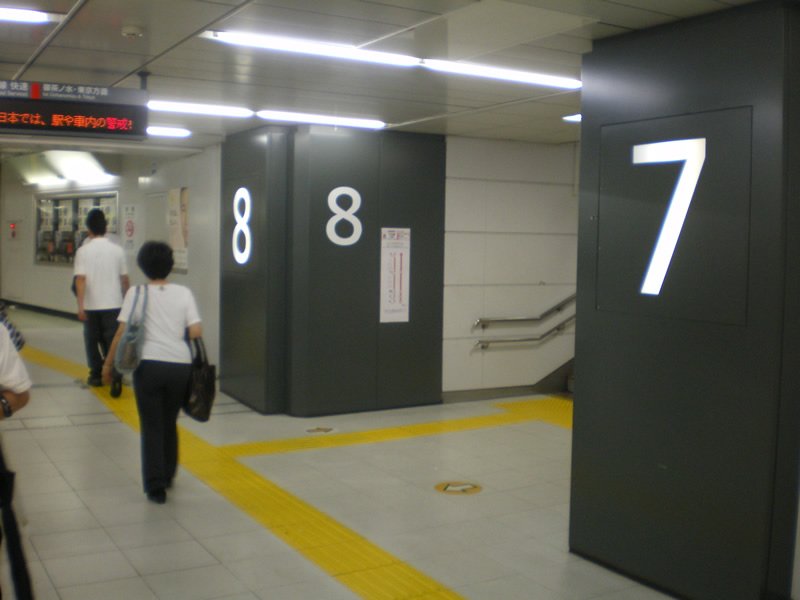
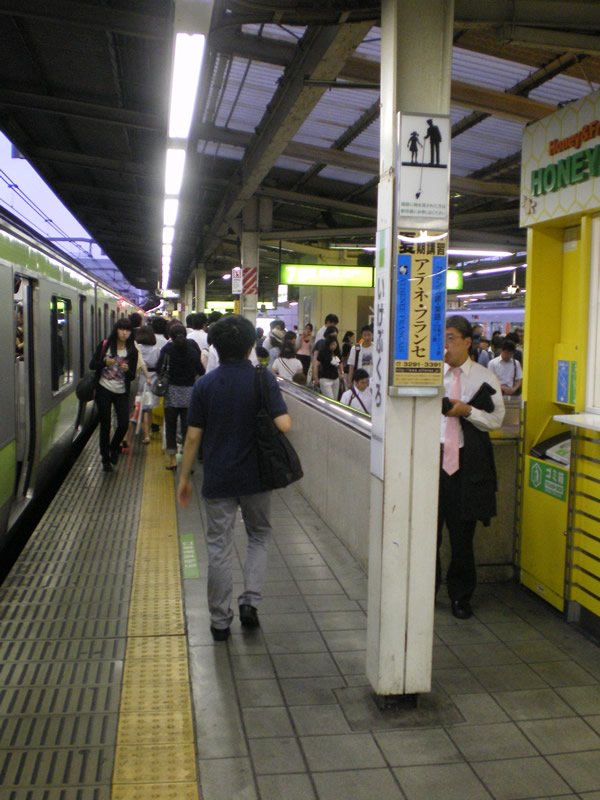
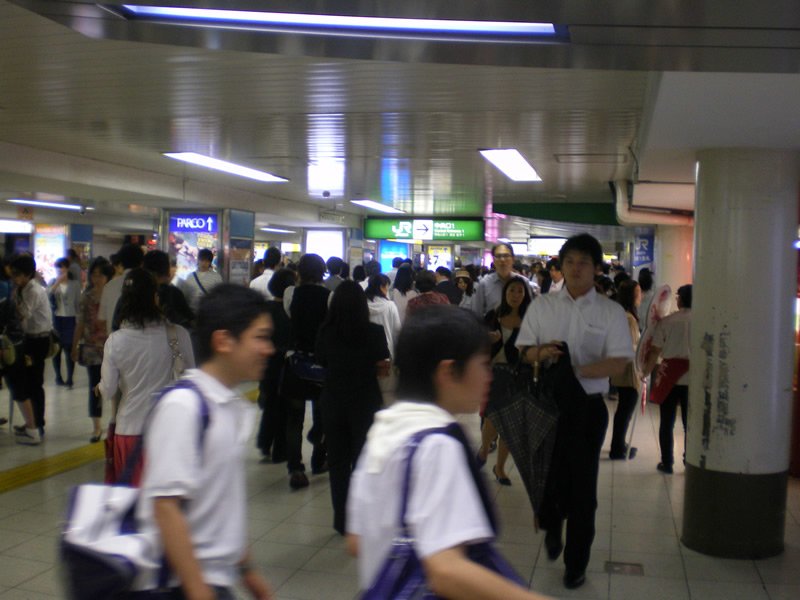
Figure #32
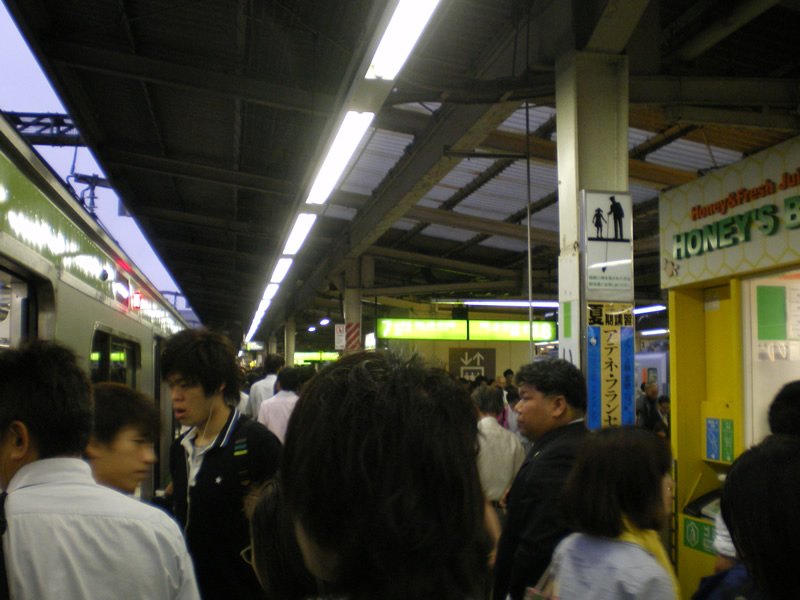
Left hand view of getting off from Shinjuku at Ikebukuro. You are on Platform 7.
Figure #33
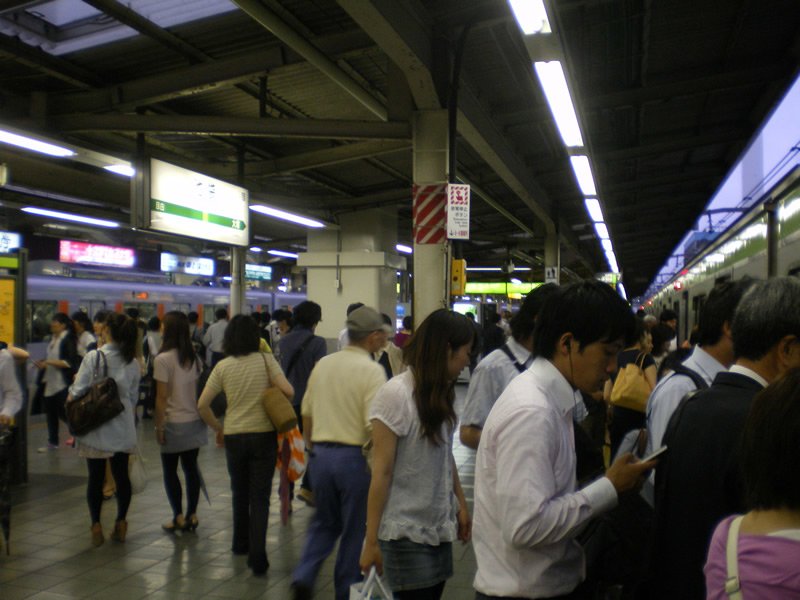
Right hand view of getting off.
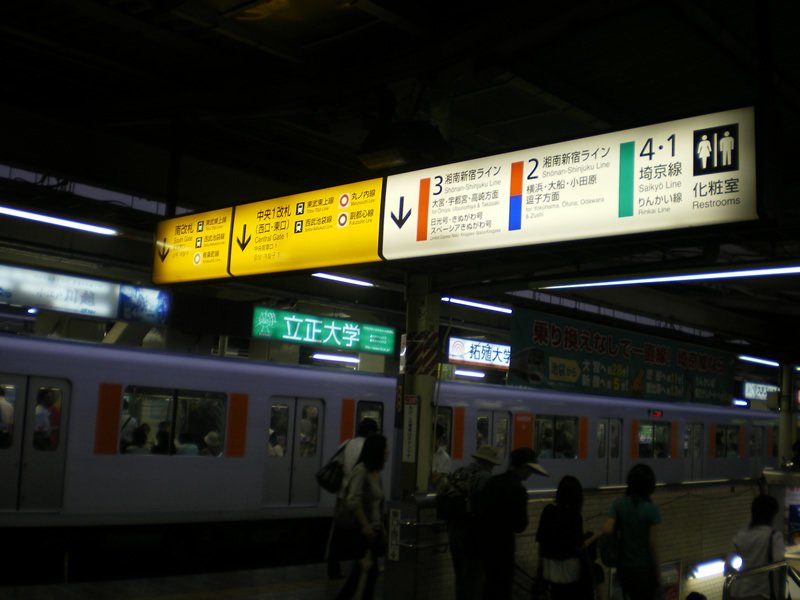
Figure #34
Move towards the big green glowing platform 7 and 8 signs. They are above the stairs and are the exits.
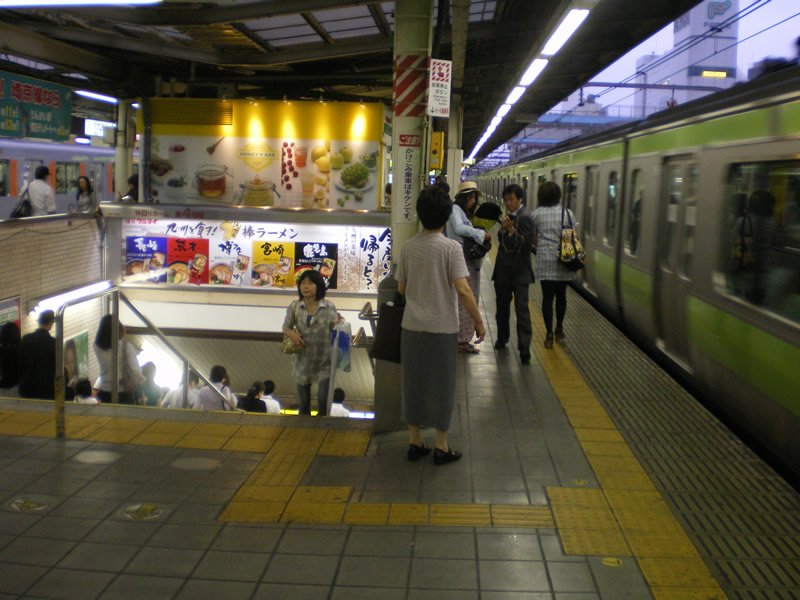
Figure #35
This is the reverse side of the big green glowing platform 7 and 8 signs. As you can see it is the entrance and exit of the platform.
Figure #36
Another view of the platform exit stairs.
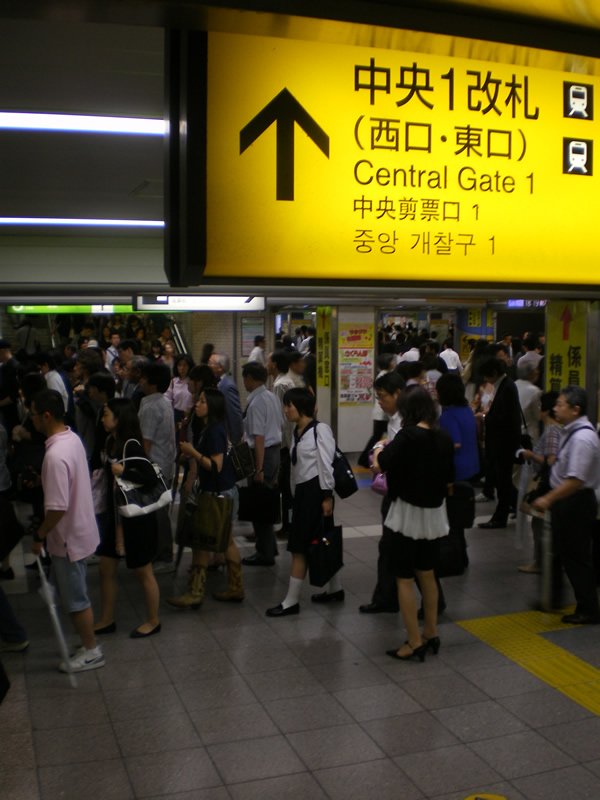
Figure #37
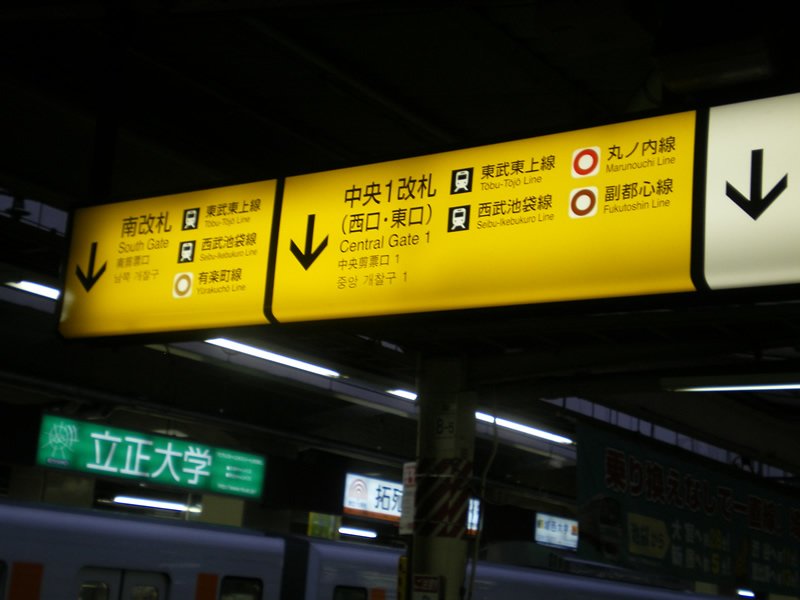
Close up on the signs. Notice "Central Gate 1" That is where we want to go.
Figure #38
Approaching the landing of the stairs that head towards Central Gate 1.
Figure #39
The landing after the stairs. Walk left 15 paces and then walk straight until you reach the view in the next figure.
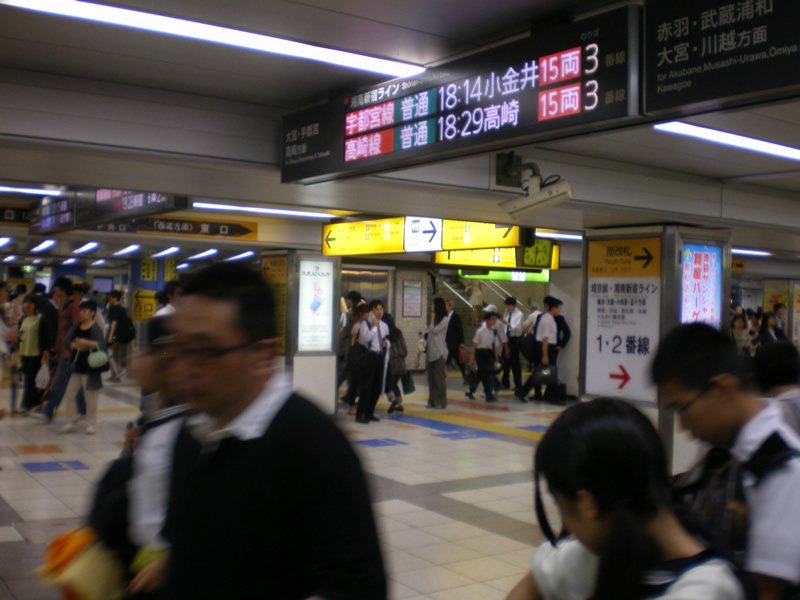
Figure #40
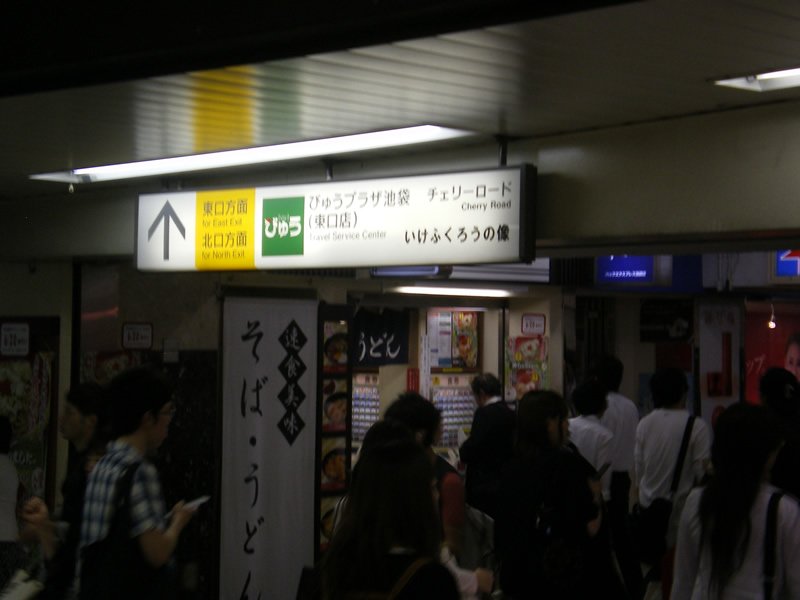
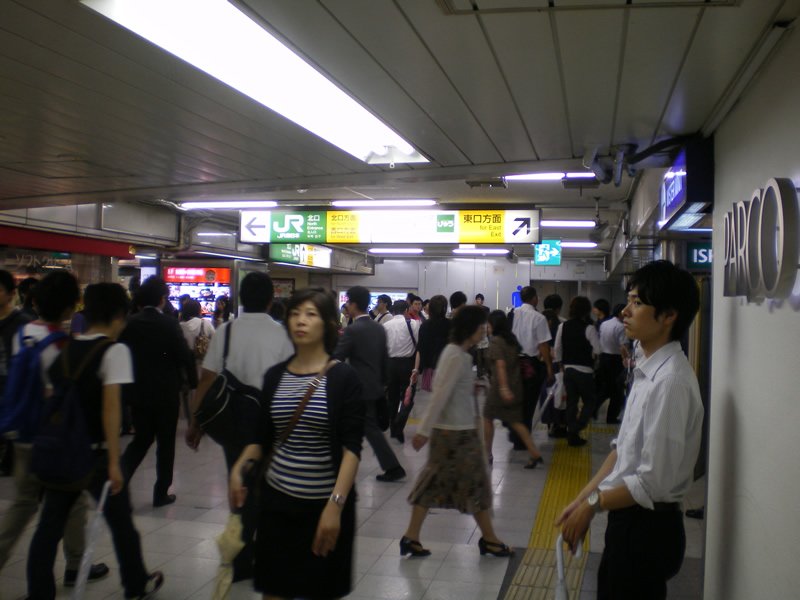
After stepping down the stairs, and walking left 15 paces, and then walking forward you should reach this view. It is the ticket gate and indicates the West and East Exits.
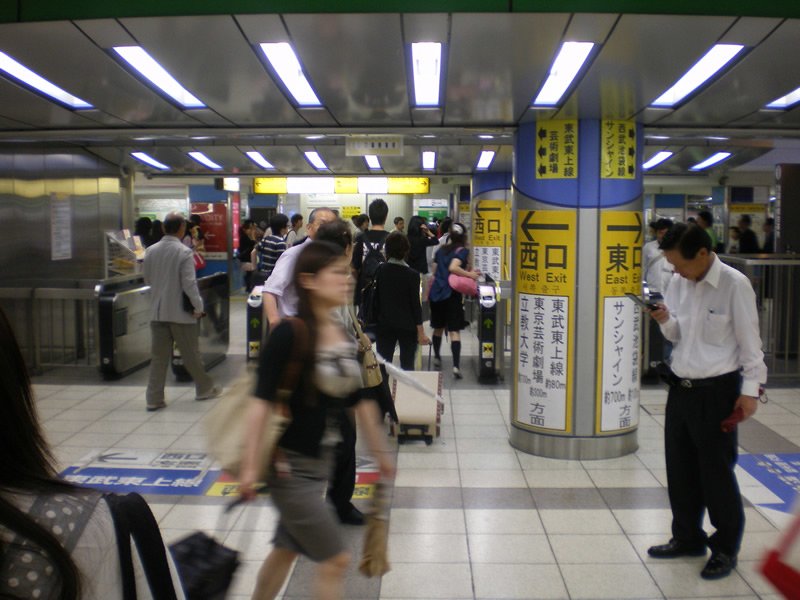
Figure #41
After passing through the ticket barrier you have the choices for which exit you want. Choose the East exit and go right.
Figure #42
Continue down this long hall. Going straight.
Figure #43
Keep going.
Figure #44
Keep going.
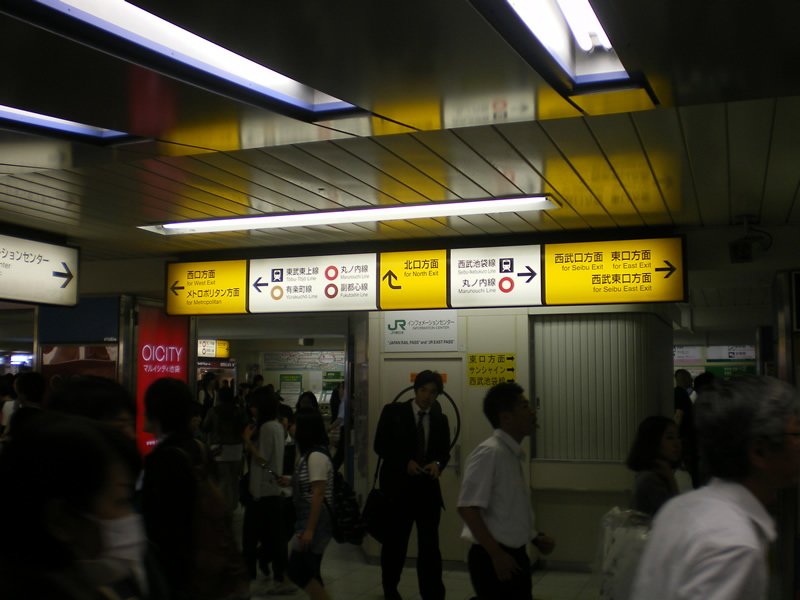
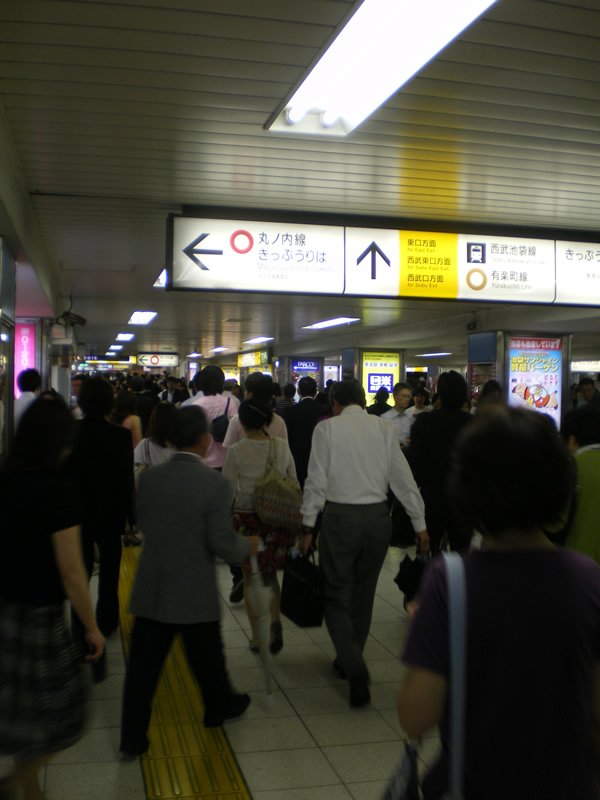
Figure #45
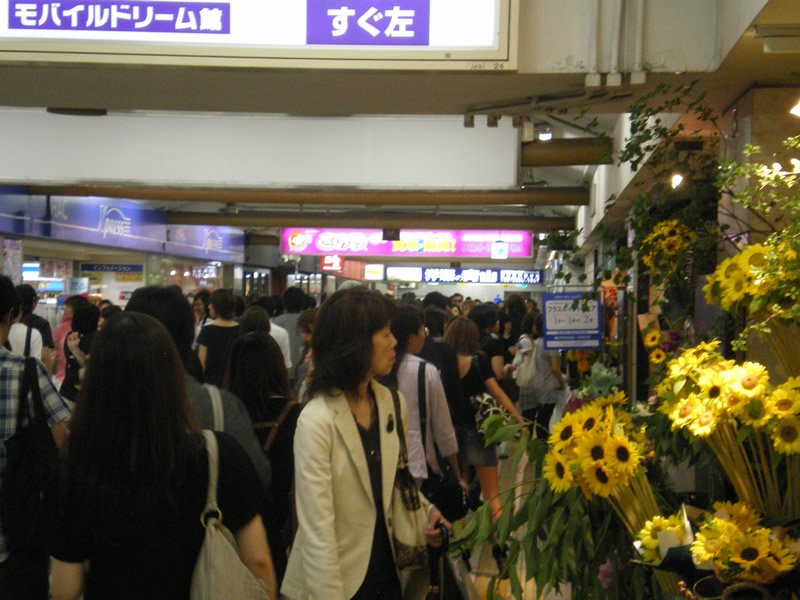
Now you reach some options. Take the left for the "East Exit"
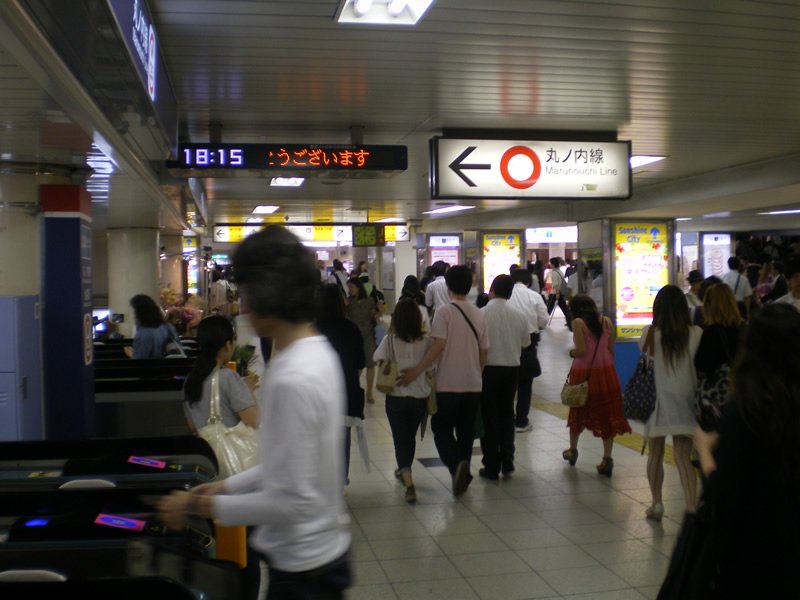
Figure #46
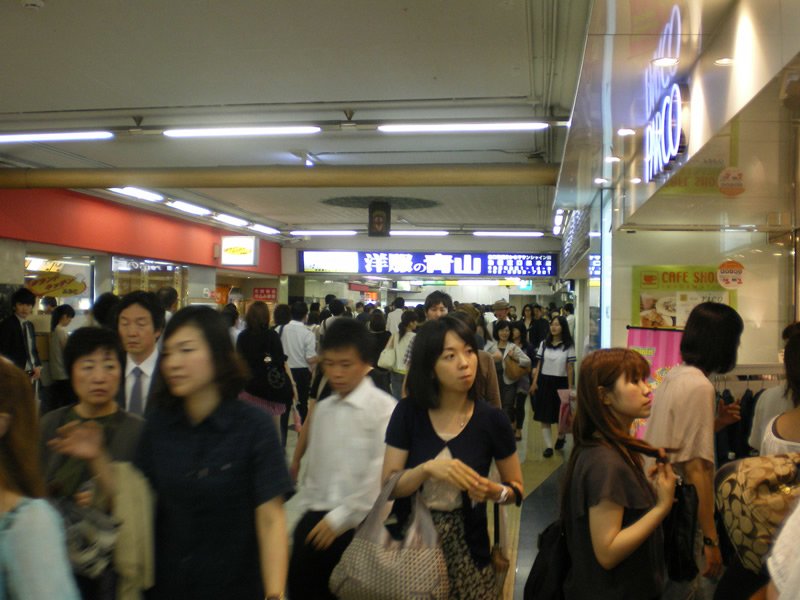
After taking the left you'll get this view. Go straight down.
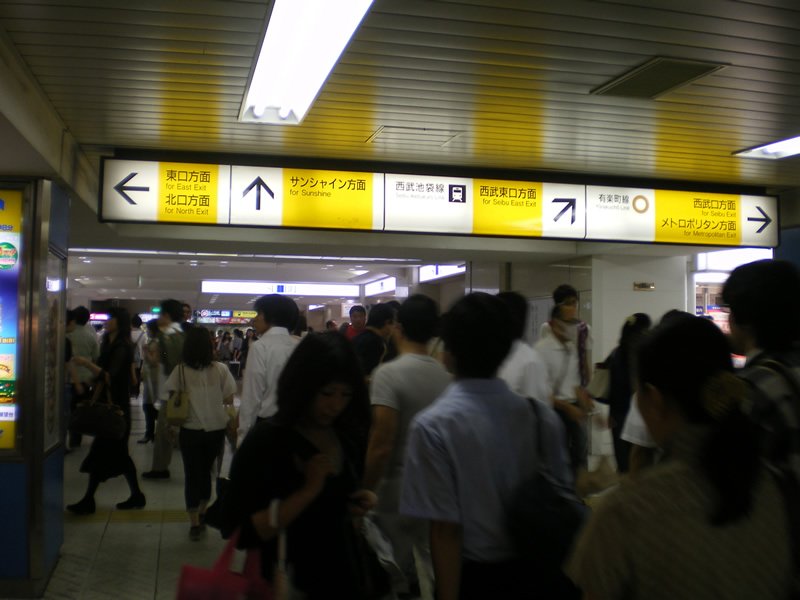
Figure #47
Notice this sign along the way. Keep going straight.
Figure #48
Keep going down.
Figure #49
Keep going.
Figure #50
Keep going straight, and notice the 'for East Exit' Sign.
Figure #51
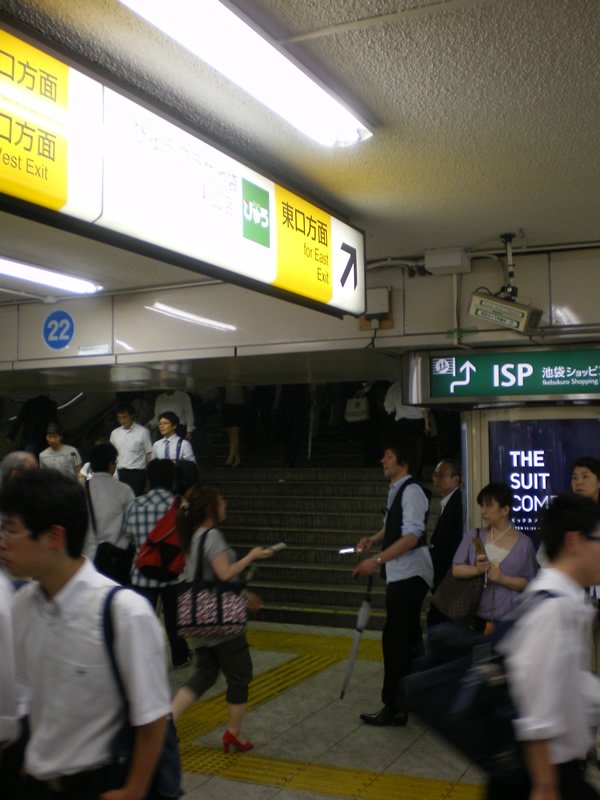
Close up on the East Exit sign. The arrow is pointing up, that means you go up the stairs its pointing to.
Figure #52
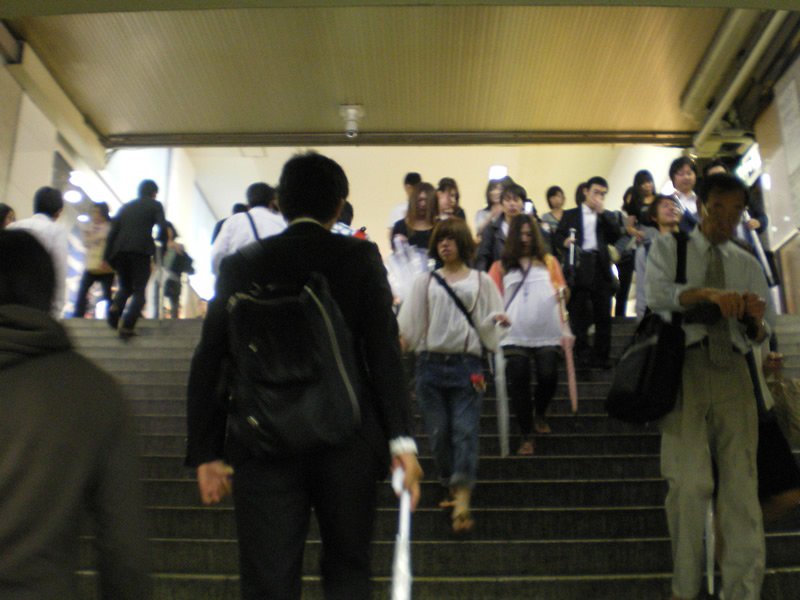
Go up the stairs.
Figure #53
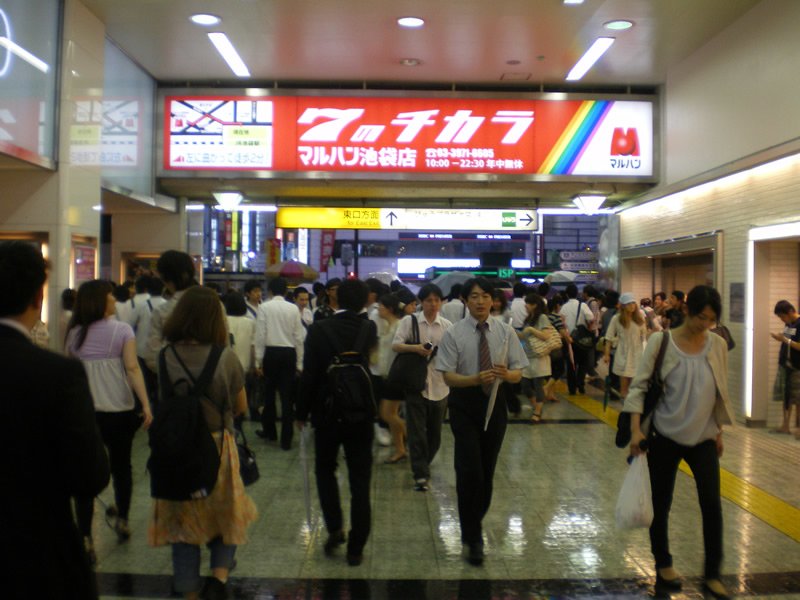
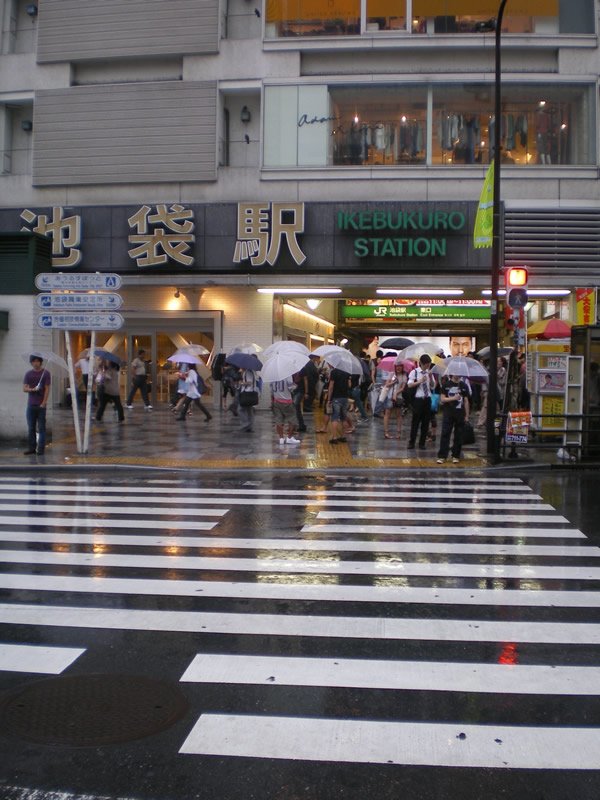
Bam, you're at the East Exit/Entrance.
And here we are, at the East Entrance/Exit of Ikebukuro Station.
Figure #54